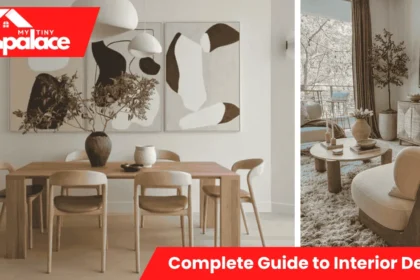

Do you dream of a high-end home look without spending a lot? Many think luxury means hiring pros and big budgets, but you can create a budget-friendly slat wall yourself. But you can get a stunning look by doing simple, modern updates yourself.
This guide is a detailed tutorial for a fancy accent wall. With smart wall treatments, you can make any room look like a designer space. It’s a budget-friendly way to add texture and depth to your home.
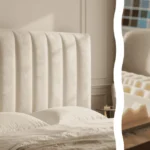
Want to make your master bedroom or living area look better with a stylish black wall? This DIY slatted wood wall budget method is perfect. You’ll learn to create a wall feature that grabs attention. Follow these steps to turn your home into a stylish sanctuary today.
Planning Your DIY Slatted Wood Wall Budget Project
Starting a budget-friendly DIY wall project means getting precise measurements and picking the right materials. You need to know the wall’s width to plan correctly. This helps you figure out how many boards you’ll need for your slat wall.

Head to a place like Home Depot to check out quality materials, including 4×8 sheets for your project. You might pick poplar or standard 1x2s, which come in 88-foot-long pieces. Choosing the right wood makes your slat project look great without spending too much, keeping it budget-friendly.
Think about whether you want pre-made wall panels or cut your own from birch plywood. Using high-grade plywood gives a custom look and keeps your DIY work efficient. Cutting your own strips can save you money compared to buying pre-made kits, making it a budget-friendly option for your DIY slat wall project.

Good woodworking means being careful to avoid extra costs. When making a budget-friendly slat design, pay attention to the spacing between boards. This approach makes your wall both stylish and affordable.
Essential Tools for a Professional Finish
Getting a top-notch finish on your wall project starts with the right tools. You’ll need a good circular saw or a track saw to cut your wood evenly, especially if you’re working with the width of the wall in mind. If you’re working with a full sheet of plywood, a table saw is best for straight cuts.
Before you start putting things together, make sure your wood slats are smooth by sanding them properly. Use a top-notch sander with the right grit to get rid of any rough spots. This makes it easier to apply a light stain, like golden oak or Minwax, on your budget-friendly slat wall.
Related Articles

When it’s time to install, a brad nailer or a strong nail gun is key. They help you nail down each slat without harming the wood. You can find these tools at Home Depot to make sure your kit is complete.
Attention to detail is what makes a project look professional. A planer ensures every piece is flat before you start. Always have a spacer ready to keep the gaps even, especially for long slats, to ensure a cost-effective installation.
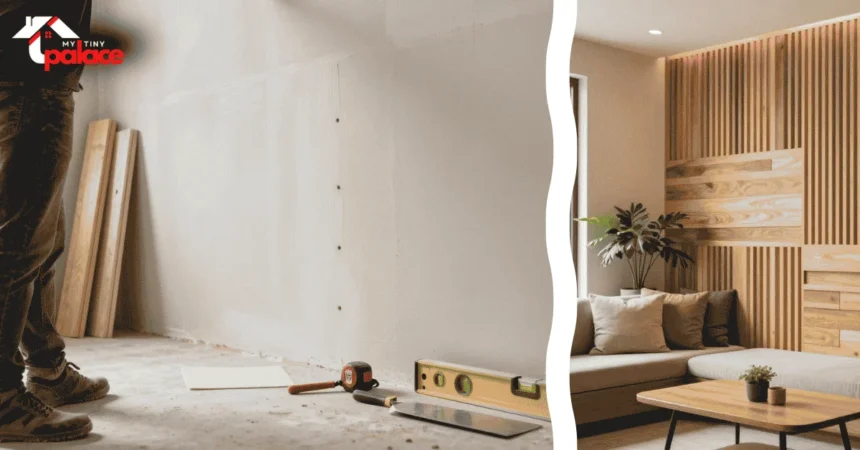
Preparing the Wall Surface for Installation
A solid foundation is key to a professional wood slat wall. Before starting, make sure your drywall is clean and ready. Many designers recommend painting the wall black for a striking look. This step helps hide any small gaps between the slats, making the design look seamless and high-end.
Next, check the surface for bumps or uneven areas that could affect installation. Use a sander to smooth these out. Choose a fine grit to avoid damaging the wall while making it level for your wood, ensuring a smooth finish for your budget-friendly slat wall.
If your wall is rough or needs extra support, consider a thin plywood backer. This backer gives your slats a stable surface to grip. It also makes installation easier by providing a consistent plane to work against for your DIY slat wall.
Finally, use quality construction adhesive to attach each slat to the wall. Apply the adhesive evenly to keep your wood pieces securely in place from floor to ceiling. These extra steps ensure your feature wall stays beautiful and durable for years, making it a cost-effective investment.
Executing the DIY Slatted Wood Wall Budget Installation
Seeing your DIY slatted wood wall come to life is incredibly rewarding. Start by measuring the wall’s width carefully. This ensures your slats are evenly spaced from floor to ceiling. Use a spacer to keep everything aligned as you work.
Begin installing the slat wall by applying construction adhesive to each piece’s back. Press the slat against the drywall and then nail it in place with a brad nailer. This method keeps your design strong and even with the wall.
Using pre-made slat panels makes installation quicker. But cutting individual slats lets you customize more, making your DIY slat wall truly unique. This way, you can make a design that fits your room perfectly without breaking the bank.
After installing all slats, you might see nail holes. Fill these with wood filler for a clean finish. This step hides the nails and showcases the wall’s natural beauty. By following this guide, your DIY slat project will look like a top-notch renovation.
Refining Your Wood Slat Feature Wall
Now that your slats are in place, it’s time to make your wood slat feature wall look professional. Check the alignment of each slat after installation. Make sure they are securely attached for a lasting wall feature.
Then, apply a high-quality stain to highlight the wood’s natural beauty. Choose a light stain or a classic golden oak from Minwax to enhance the grain patterns. Once dry, check the slat spacing for uniformity. Use wood filler for any gaps or holes to achieve a smooth finish.
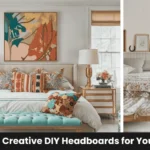
Building a custom headboard or a large accent wall is a big project. You started with a deep black paint on the background. This bold contrast makes the wood slats stand out, adding a modern touch to your room.
Conclusion
Finishing your DIY slatted wood wall project gives your home a fresh look. You’ve updated your master bedroom with a high-end feel without spending a lot. This shows that you can have style without breaking the bank.
These modern wall treatments add a clean look to any room. You built a cost-effective accent wall without spending extra on professional help. Your hard work shows in a space that truly reflects your style and creativity.
Watching a YouTube video can help with the final steps. It’s a great way to improve your skills for future projects. This approach lets you take charge of your home’s design.
Take a moment to enjoy the texture and depth your new wall adds. You now have the skills to tackle other areas of your home with confidence. Enjoy the pride of a beautiful, handcrafted space that stands out.