


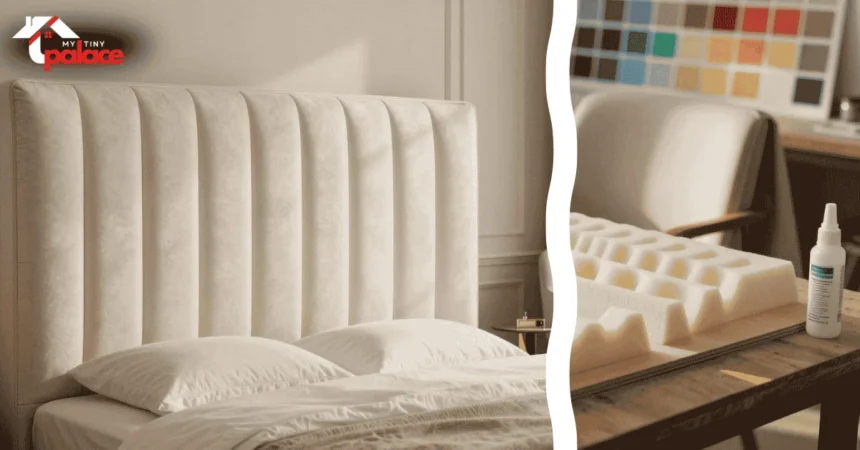
Turning your bedroom into a luxury retreat often begins with a standout piece. A custom headboard can instantly boost your room’s style. This DIY project lets you create something that fits your unique taste and wall size perfectly.
Doing a DIY project for your home brings a sense of pride that store-bought items can’t. Building a fluted headboard lets you pick the texture and color of the fabric. This guide will help you achieve a top-notch finish. Now, you’re ready to make your bedroom more luxurious.
Planning and Material Selection for Your Bespoke Headboard
Starting your diy headboard project means measuring your bed first. This ensures your new design fits perfectly. Accurate measurements help avoid mistakes and make your project look great.
After measuring, choose the best materials. You’ll need quality foam and strong fabric for a lasting finish. Don’t forget to buy extra fabric for any mistakes or changes.

Having a detailed guide boosts your confidence before you purchase materials and begin. Watching a short video can also help. It shows you what to do in a way words can’t.


Good planning keeps your project smooth and stress-free. Having all materials ready saves you from last-minute trips to purchase additional items. A well-planned diy fluted headboard adds beauty to any bedroom.
Preparing the MDF Base and Foam Flutes
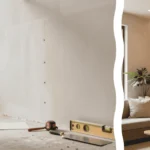
Building a professional headboard begins with preparing your MDF base and foam flutes. First, measure your wooden board to match your bed frame. Use a pencil to mark the surface clearly. This mark will guide your pattern for the sides of the flute.
To get a balanced look, divide the board’s width by the flute size. A 5cm width is classic, but you can choose narrower or wider flutes for your existing headboard. Use a straight edge to draw vertical lines on the MDF surface.
Then, cut your foam strips to the right length and width to place on the back of the headboard. Lay the foam flat on a table for straight edges. Make sure each strip is the same to keep the pattern consistent.
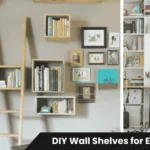
Related Articles

Once your foam is cut, attach it to the wood. Spray a high-quality adhesive on the foam’s back and the MDF’s marked area. This step needs patience to ensure the foam fits perfectly.
Press each strip firmly into place, matching the edges to your pencil marks. If there are gaps, fix them before the glue dries. This attention to detail is key for a professional diy fluted design.
Mastering the Art of DIY Fluted Headboard Upholstery
Upholstering your headboard is the most rewarding part of your bedroom project. As you cover the foam flutes with velvet or fabric, patience is key. This step turns raw materials into a luxurious, custom piece.
Techniques for Achieving Neat Corners and Edges
To get a professional look, wrap the upholstery fabric around the sides of the flute carefully. Start by securing it at the top and bottom of the existing headboard. Use a staple gun to staple the wadding and fabric underneath the frame, keeping it straight.
When you hit a corner, pull the cloth tight to avoid wrinkles. A sharp edge comes from folding the material right before stapling. Take your time to make the corners look neat, not bulky.
Managing Excess Fabric and Folds
As you work, you’ll find excess fabric. Trim any thick wadding that makes the fabric bulge. If a fold appears, fold it back where it won’t show.
Smooth the fabric as you go to avoid bumps. Handling folds early keeps the surface flat. This detail makes your DIY headboard look high-quality.
Ensuring Consistent Tension Across the Flutes
Even tension is crucial to avoid wrinkles. Pull the fabric evenly on each flute for a uniform look. If one side is tighter, the flute will sound off.
Check your work often by stepping back. If you see a loose spot, remove the staple and tighten it. Once you’re happy, staple the fabric in place.
Attaching and Securing Your Finished Headboard
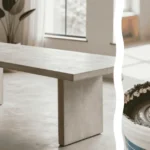
The last step is to attach your headboard to the bed frame or wall. After you finish the upholstery, make sure it’s stable and aligned with your bed. A secure headboard prevents it from wobbling and keeps your interior looking neat.
First, measure your mattress height to find the perfect spot for the headboard. It should be just above the mattress for a smooth look. If your headboard has legs, attach them to the MDF base with strong bolts. Make sure the legs are in the middle to avoid hitting the bed frame.
To stop the headboard from moving, attach hardware to the back of the MDF. Use a French cleat or heavy-duty brackets for the best support. Also, make sure all staples from the upholstery are hidden, and there are no sharp edges.
Before tightening everything, check that the headboard is level. A well-attached headboard is safe and adds beauty to your room with quality upholstery fabric. With these steps done, you’ll enjoy the results of your hard work and the comfort of your bed base.
Conclusion
Creating a custom fluted headboard can transform your bedroom into a luxurious retreat. This project shows that you can achieve professional-looking results with the right upholstery fabric and materials.
The fabric you choose sets the mood of your room. Soft fabrics add warmth, while bold colors make a bold statement.
Document your project with a short video. Share it on Instagram to connect with others who love unique designs.
Each detail of your headboard shows your dedication to quality and order in your design. Now, you’re ready to take on more DIY projects with confidence.
Relax in your newly decorated space. It’s a testament to your creativity and hard work.