


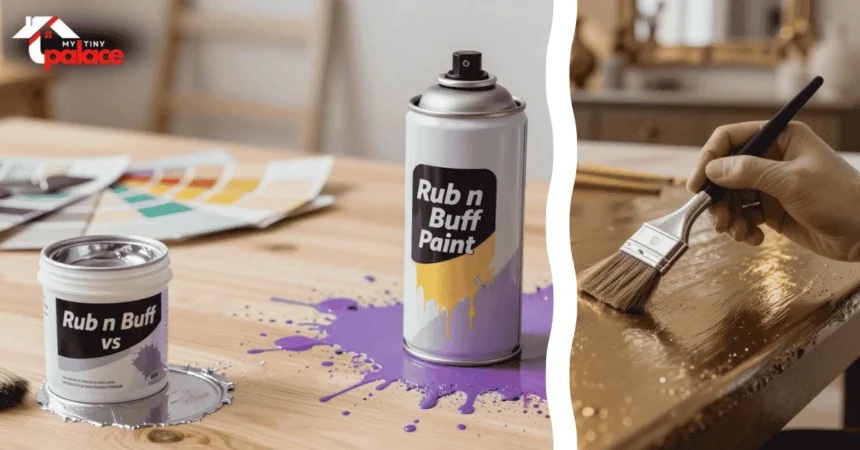
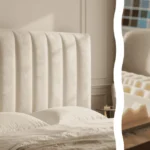
Starting a DIY project often means deciding between Rub ‘ N Buff and spray paint. Both can change your home’s look and feel. Choosing the right one is key to a great finish.
It’s important to know how each finish works. One might give a smooth look to big items, while the other adds shine to small details using rub and buff. This knowledge helps your project look professional.
Think about what you need for your project, especially if you plan to use spray paint vs rub n buff. Whether it’s new hardware or a refinished mirror, the right choice matters. This guide will help you pick the best option for your next project.
Understanding the Basics of Rub n Buff vs Spray Paint
The debate between rub ‘n buff and spray paint is about two different worlds. Rub ‘n buff is a metallic wax, while spray paint is a solvent-based aerosol. Each has its own way to change your furniture or decor.
Rub ‘n buff is a thick paste you apply by hand. It gives a deep, real metal look. Since it’s a wax, it stays on top, letting you control where it goes.
Spray paint, on the other hand, uses solvents to spread pigment in a fine mist. It covers big areas fast and makes a smooth finish. You can find many colors, from matte to shiny metallics.


When picking between rub ‘n buff and spray paint, think about what you want to see. Rub ‘n buff is great for details on frames or hardware. Spray paint is better for covering a whole piece of furniture evenly.
Knowing the difference between these two helps you choose the best for your project. Whether it’s the feel of wax or the quickness of spray, you’ll get great results. Always check what you’re working with before starting your next DIY project.
Comparing Application Methods and Ease of Use
Learning how to apply your finish can make your DIY projects look like a pro did them. When you use Rub ‘n Buff, you have full control over the finish. A soft brush lets you get into small details with ease.
This method is great for small projects. It helps you avoid uneven coverage when using spray paint or rub n buff. Applying it in thin layers gives a smooth finish that shows off your piece’s texture. It’s easy to use, making it perfect for beginners.
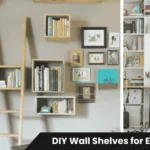
Related Articles

Spray paint gives a different experience. It’s best for big surfaces. But you need to keep the can at the right distance to get a smooth finish.
Also, watch out for the weather. Spray paint dries fast in hot or windy conditions. Move your can in a steady motion to avoid streaks. It covers a lot of area fast, but you need to protect other areas from getting paint on them.
Your choice depends on the size of your project and how comfortable you are with using Rub’ N Buff for finishing touches. Whether you like the feel of a brush or the speed of spray paint, both can make your project look amazing if you take your time.
Durability and Longevity in High-Traffic Areas
When you update a metal accessory, think about how it will hold up. A durable product keeps your work looking good, even in busy places. You want your pieces to stay professional-looking for years.
Items like chandeliers and light fixtures get a lot of use. A poor finish can start peeling quickly. Also, a soft finish scratches easily when bumped or cleaned.
Keeping black metal looking good is key. A clear coat protects it from dust and oils. This layer stops damage and keeps your fixture looking new.
Achieving the Perfect Metallic Finish
Getting a professional metallic finish needs a careful eye for how light hits your pigment. Gold, bronze, copper, or silver all look different based on how light reflects, especially when using rub n buff. Knowing this helps pick the right product for your dream look.
For a bright gold sheen, choose products that reflect a lot. They look like polished gold leaf, catching the eye. On the other hand, a matte finish gives a classy, aged look that’s perfect for old furniture.
Choosing the right gold color is key to a real aged brass look. Mixing colors can make it look more authentic than one shade, particularly when using spray paint. Think about how the metal looks with the room’s decor.
Adding silver can bring cool highlights to your project. Mixing metallic paints or waxes adds depth and shine like real metal. A darker wax over a lighter base creates shadows that highlight the finish.
Trying out these methods makes your projects look upscale and thoughtful. Always test colors on a small area before finishing. With practice, you’ll get the metallic glow just right.
Best Projects for Rub n Buff
Small DIY projects need a special touch that Rub’ N Buff offers. This wax metallic finish is perfect for adding gold touches to items. It’s easy to use, making it great for both beginners and experienced crafters.
Restoring wooden picture frames is a popular use for Rub ‘ N Buff. A thin layer of wax can make an old frame look new again. Many have used antique gold to give thrifted items a luxurious, vintage look.
Want to make a large mirror frame pop? Rub n buff can do the trick. Choose from antique gold for a classic look or original black for a modern vibe. Apply the wax with your finger or a soft cloth to enhance the frame’s details.
You can find Rub ‘n Buff at most craft stores. Remember, a little wax goes a long way. Start with small projects to get the hang of it. This way, you can create beautiful highlights that make your DIY projects shine.
Best Projects for Spray Paint
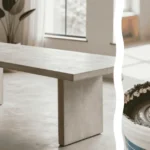
Looking to change up a coffee table or a big bookcase? Spray paint is the way to go when you need a quick and smooth finish, but consider rub and buff for details. It covers large areas evenly, making it hard to get by hand. DIY fans love it for saving time and getting a smooth finish.
It’s also great for metal chairs, outdoor stuff, or big ceramics. The paint comes out evenly, with no brush marks. This is perfect for giving old furniture a new look with gold spray paint.
Choosing spray paint means you want speed and full coverage. It’s better than wax for a factory-like finish. It’s also good for tricky shapes or hard-to-reach spots when using Rub ‘ N Buff.
Think about the size of your project. Small details need handwork, but big pieces need a smooth, even coat of paint. The right tool makes a big difference, whether you’re following a guide or a book.
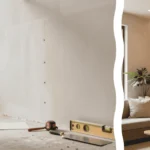
Preparation Requirements for Professional Results
Getting a professional finish on your home projects begins before you even paint. Proper surface prep is key to a lasting finish. A bit of extra effort up front means your work will last longer.
The first thing to do is sand the surface well. Use fine-grit paper to remove old finishes and smooth out rough spots. This makes your new paint stick better and hides imperfections.
After sanding, apply a high-quality primer. A good primer helps your paint look even and prevents uneven absorption. It’s crucial for porous materials or big color changes.
By sanding and priming well, your project will look great for years. These steps are the base of any successful home improvement. They ensure your work looks professional and lasts.
Conclusion
Choosing the right medium for your home decor updates can make a big difference. Whether you pick Amaco Rub n Buff for precise control or Rust-Oleum spray paint for broad coverage, it’s all about matching the product to your goals.
Small decorative accents often do well with Rub n Buff’s wax-based application. But, for larger furniture or outdoor items, spray paint’s uniform coat is better. Your choice affects the final look and how long it takes to complete your project.
Before starting, think about the item’s size and how much wear it will get. Good planning helps your work last longer. Now, you know how to choose between these popular finishing options.
Share your latest DIY project photos with our community to inspire others. Your creativity can make any room come alive. Start your next DIY project today, knowing you have the right tools.