


Your pasta water boils over while you search three drawers for a decent spoon. You slice tomatoes with a dull knife that crushes instead of cutting. A cluttered kitchen with missing basics turns simple meals into frustrating tasks. The right essentials—a sharp chef’s knife, one reliable pan, proper measuring tools—make cooking faster and safer. You don’t need every gadget advertised online. You need the core items you’ll actually use every single day.
- Quick summary
- Kitchen Essentials Checklist
- Why a proper checklist matters for your kitchen
- Core essentials: cookware, knives, and prep tools
- Space-saving storage solutions
- How to choose the right items for your needs
- Step-by-step: set up your first essentials kit (practical demo)
- Costs, time, tools — compact comparison table
- Pros & cons — who should consider each approach
- Quick summary + CTA (what to buy first)
Quick summary
Focus on a few anchor items first: one good skillet, a sharp chef’s knife, basic utensils, and measuring tools. Add space-saving storage solutions and one multipurpose small appliance. Prioritize by how often you cook and what you make most. Buy durable basics instead of cheap sets that break within months.
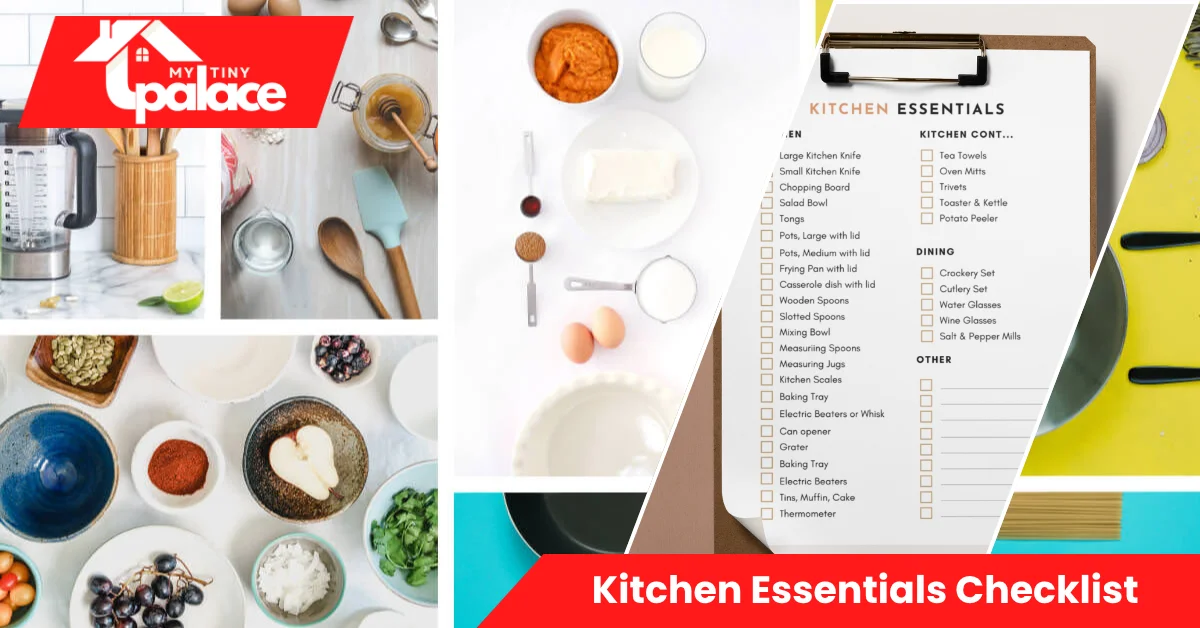
Kitchen Essentials Checklist
A kitchen essentials checklist organizes items into core categories: cookware, knives and cutting boards, prep tools, storage solutions, cleaning supplies, and small appliances. The goal is buying durable basics you’ll reach for daily instead of cluttering cabinets with single-use gadgets.
Think in budget tiers. A starter kit for $100–$150 covers absolute necessities for someone moving into their first apartment. A mid-range setup at $300–$500 adds quality upgrades and a few time-saving tools. An investment kitchen at $800–$1,200 includes premium materials and specialized items for serious home cooks. Most people build their collection gradually, starting with essentials and upgrading as they cook more.


The checklist approach prevents duplicate purchases and impulse buys. When you know exactly what you need, you skip the 12-piece knife block where only two blades ever leave the holder. You avoid drawer clutter from three potato peelers and four can openers.
Why a proper checklist matters for your kitchen
The right tools make cooking faster and less stressful. A sharp chef’s knife cuts prep time in half compared to sawing through onions with a dull blade. Proper measuring cups and spoons prevent recipe failures. Good cookware heats evenly, so food doesn’t burn in spots while staying raw elsewhere.
Safety improves with quality basics. Sharp knives require less pressure and slip less often than dull ones. Sturdy cutting boards stay in place instead of sliding around. Heat-resistant utensils prevent burns from touching hot pans. Well-maintained equipment lasts longer and performs more reliably.
Your grocery budget stretches further when you can actually cook at home. People with functional kitchens order takeout less often. You waste less food when you have proper storage containers. Efficient tools make meal prep feel manageable instead of overwhelming, which keeps you cooking instead of giving up and eating out.
Lifestyle matters too. Someone who cooks dinner nightly needs different tools than someone who meal-preps on Sundays. Families with kids benefit from kid-safe utensils and easy-clean surfaces. People who entertain need serving pieces and extra prep space. Match your essentials to how you actually live, not how Instagram chefs present their counters.
Core essentials: cookware, knives, and prep tools
Start with cookware that handles most cooking tasks. A 10–12-inch nonstick skillet works for eggs, s12-inchvegetables, and quick proteins. Add a 3–4 quart saucepan with a lid for pasta, rice, and soups. A large stockpot (8+ quarts) handles batch cooking and boiling. For baking, get one rimmed sheet pan—it roasts vegetables, bakes cookies, and catches drips in the oven. Choose stainless steel or hard-anodized aluminum for durability. Avoid ultra-cheap nonstick that peels after six months.
Your knife collection starts with one 8-inch chef’s knife—this handles 90% of cutting tasks. Add a 3–4 inch paring knife for detailed work like coring strawberries or peeling garlic. Keep them sharp with a honing steel or get them professionally sharpened twice a year. A dull knife is dangerous and frustrating. Skip knife blocks full of specialty blades you’ll never use.
Get two cutting boards: one plastic for raw meat and one wood or bamboo for produce and bread. Plastic boards go in the dishwasher for sanitizing after handling chicken. Wood boards need hand-washing but feel better under the knife and look nicer on the counter.
Mixing bowls in three sizes (small, medium, large) nest inside each other for storage. Stainless steel works for everything and won’t stain or hold odors like plastic. Add a set of measuring cups (dry ingredients) and measuring spoons. Liquid measuring cups with spouts (1-cup and 4-cup sizes) make pouring easier and prevent spills.
Prep tools include a vegetable peeler, can opener, box grater, colander, and silicone spatula set. These items cost $3–$15 each and perform tasks you can’t easily do without them. A sturdy wooden spoon and a slotted spoon round out basic utensils. Rena, you should prioritize lighter items that pack easily for moves—skip heavy cast iron until you settle long-term.
Space-saving storage solutions
Nesting cookware saves cabinet space. Look for pots and pans designed to stack inside each other with removable handles. Store lids vertically in a dish rack or wall-mounted organizer instead of piling them flat.
Vertical organizers maximize cabinet depth. Install tension rods to create dividers for baking sheets and cutting boards. Use stackable shelf risers to double your usable space—store plates on the lower level and bowls on the upper platform.
Magnetic knife strips mount on walls or inside cabinet doors, keeping knives accessible without a bulky block. Hooks and over-the-door racks add storage without drilling holes—perfect for renters. Hang measuring cups, pot holders, and frequently used utensils.
Multipurpose containers with tight-sealing lids store dry goods, leftovers, and meal prep ingredients. Clear containers let you see contents at a glance. Square or rectangular shapes fit more efficiently than round ones. Label everything so you don’t open five containers looking for rice.
Small kitchens benefit from rolling carts that provide extra counter and storage space. Push them against a wall when not in use. Under-shelf baskets hang from existing shelves to hold mugs, spices, or snack bags. Every vertical inch counts in tight spaces.
How to choose the right items for your needs
Start by analyzing how you actually cook. Quick weeknight meals need simple tools—a skillet, a saucepan, and basic utensils. Serious bakina g requires measuring tools, mixing bowls, sheet pans, and an electric mixer. Someone who meal-preps on Sundays benefits from multiple storage containers and larger cookware for batch cooking.
Kitchen size determines what fits. Measure your counter depth, cabinet width, and drawer space before buying appliances. A stand mixer that blocks your entire counter becomes a hassle instead of a help. Compact versions of popular tools exist for small spaces—mini food processors, slim toasters, and compact blenders.
Consider cleanup tolerance. Hand-wash-only items like cast-iron skillets, Hand-wash-onlying boards, cast-iron, if you don’t mind the extra step. People who prefer throwing everything in the dishwasher should choose accordingly. Nonstick pans and stainless steel tools simplify cleanup but may cost more upfront.
Budget matters, but quality beats quantity. One good $80 chef’s knife outperforms a 15-piece set for $60, where every blade feels flimsy. Invest in items you use daily—your main skillet, chef’s knife, and cutting board. Save money on occasional-use items like specialty baking pans or rarely used appliances.
Prioritization rule: buy one excellent version before collecting multiples. Get one great pan that does everything before adding six mediocre ones. The same applies to knives, mixing bowls, and storage containers. Upgrade what you already have instead of accumulating duplicates.
Step-by-step: set up your first essentials kit (practical demo)
This walkthrough builds a functional starter kitchen for $150–$200. You’ll handle daily cooking tasks and have room to expand as needed.
Step 1: Measure your space. Open cabinets and drawers. Note available shelf height and depth. Check counter space and outlets for appliances. Write down these measurements—they prevent buying items that don’t fit.
Step 2: Choose anchor pieces. Buy your core cookware first: one 10-inch nonstick skillet ($25–$40), one 3-quart saucepan with lid ($30–$50), and one rimmed sheet pan ($15–$25). These three items cover 80% of basic cooking needs. Add an 8-inch chef’s knife ($30–$60)—test the grip in-store if possible. Weight and balance vary significantly between brands.
Step 3: Add prep essentials. Get one plastic cutting board ($8–$12), a set of mixing bowls ($15–$25), measuring cups and spoons ($10–$15), a can opener ($5–$8), vegetable peeler ($4–$6), and basic utensils—wooden spoon, slotted spoon, silicone spatula ($15 total). Skip gadgets marketed as “must-haves” like avocado slicers or egg separators.
Step 4: Set up storage and organization. Buy 4–6 food storage containers with lids ($20–$30). Use them for leftovers, meal prep, and dry goods. Add one over-the-door hook rack ($10–$15) for hanging utensils and dish towels. This keeps counters clear.
Step 5: Stock cleaning basics. Get dish soap, sponges, dish towels (3–4), and a drying rack if your place lacks a dishwasher. Budget $20–$30. Proper cleaning tools extend the life of your cookware and prevent bacteria buildup.
Step 6: Choose one small appliance. If you drink coffee daily, buy a basic coffee maker ($20–$40). If you blend smoothies regularly, get a simple blender ($30–$50). Don’t buy appliances for aspirational cooking you haven’t started yet. Add them after you’ve established regular cooking habits.
Common mistakes: Buying complete sets sounds eefficientnt but usually includes items you won’t use. Twelve steak knives sit unused if you rarely eat steak. Five baking pans collect dust if you never bake. Cheap tools that break quickly cost more long-term than mid-range options purchased once. Forgetting to measure cabinet space leads to returning oversized items.
Materials & checklist (compact bullets)
- 10″ nonstick skillet
- 3-qt saucepan with lid
- Rimmed sheet pan
- 8″ chef’s knife
- Plastic cutting board
- 3-piece mixing bowl set
- Measuring cups and spoons
- Can opener, peeler, basic utensils
- 4–6 storage containers
- Dish soap, spongeand s, towels
- Optional: coffee maker or blender
6-step quick setup sequence
- Measure cabinet, counter, and drawer space
- Choose anchor cookware (skillet, saucepan, sheet pan)
- Buy a chef’s knife and a cutting board
- Add prep tools (bowls, measuring tools, utensils)
- Set up storage containers and organizers
- Stock cleaning supplies; test-cook one meal
Costs, time, tools — compact comparison table
| Item | Starter ($) | Mid-Range ($) | Investment ($) | Lifespan |
|---|---|---|---|---|
| Chef’s Knife | 30–40 | 60–100 | 150–300 | 10–25 years |
| Nonstick Skillet | 25–35 | 50–80 | 120–200 | 2–5 years |
| Saucepan Set | 40–60 | 80–150 | 200–400 | 10–20 years |
| Small Appliance | 30–50 | 75–150 | 200–500 | 5–15 years |
Budgeting tips: Start with $150–$200 for absolute basics. Add $50–$100 every few months for upgrades or specialized tools as you identify needs. Shop end-of-season sales for cookware—buy holiday bakeware in January, grilling tools in September.
Save money by buying open-box or slightly damaged items from kitchen stores. A dented stockpot works just as well as a perfect one. Skip trendy colors and finishes—stainless steel and black never go out of style. Thrift stores often have barely-used quality tools for a fraction of retail price.
Where to splurge: your chef’s knife and primary skillet. These items get daily use for years. Where to save: seasonal or specialty items like turkey roasters, fondue sets, or novelty bakeware. Rent or borrow these for occasional use instead of buying.
Pros & cons — who should consider each approach
Minimal starter kit suits students, first apartments, and people who rarely cook. You’ll spend $150–$250 and have enough for basic meals. Pro: low upfront cost and minimal storage needs. Con: limited cooking options, and you’ll upgrade frequently as skills improve. Best for renters planning to move within two years or people testing whether they enjoy cooking.
Fully stocked kitchen works for established homeowners, serious home cooks, and families cooking daily. Expect $800–$1,500 for quality versions of everything. Pro: handle any recipe without missing tools. Con: high initial investment and requires significant storage space. Best for people who cook most meals at home and entertain regularly.
Most people fall somewhere between these extremes. Build gradually, starting with essentials and adding specialized items as you discover genuine needs. Someone who never bakes doesn’t need a stand mixer, regardless of how many cooking shows feature them.
Safety reminders: Always cut away from your body and keep fingers tucked when using knives. Never leave knife blades soaking in soapy water where you can’t see them. Unplug small appliances when not in use and keep cords away from hot surfaces. Use oven mitts rated for high temperatures—thin towels can cause burns. If installing under-cabinet lighting or adding new electrical outlets, hire a licensed electrician. Never overload circuits with multiple high-wattage appliances.
Quick summary + CTA (what to buy first)
The kitchen essentials checklist prioritizes items you’ll use every single day. Start with one quality chef’s knife, a reliable nonstick skillet, and a proper cutting board. Add basic prep tools like measuring cups, mixing bowls, and utensils. Choose storage solutions that fit your space and cooking style.
Your next steps this week: Measure your counter depth and cabinet space right now. Make a list of the three meals you cook most often and note which tools those recipes require. Set a $100 starter budget and buy your chef’s knife, main skillet, and cutting board first. Use what you have for everything else until you identify real gaps. Download a printable checklist to track purchases and avoid buying duplicates. Cook one complete meal with your new basics to test what else you actually need. This prevents wasting money on gadgets that sit unused while missing truly helpful tools.