


Quick Summary
Looking to refresh your living room without a full redesign? Wall art is your fastest route. You have three main paths: buy one bold statement piece that anchors the room, create a gallery wall with mixed prints, or try renter-friendly DIY projects. Each approach fits different budgets and skill levels.
- Quick Summary
- Best Wall Art Ideas to Transform Your Living Room
- Why Wall Art Matters for Your Living Room
- Core Types of Wall Art and Where Each Works Best
- How to Choose the Right Wall Art for Your Space
- Step-by-Step: Install and Style Your Wall Art
- Costs, Time, and Tools
- Pros & Cons: Who Should Consider Each Approach
- Quick Summary & What to Do Next
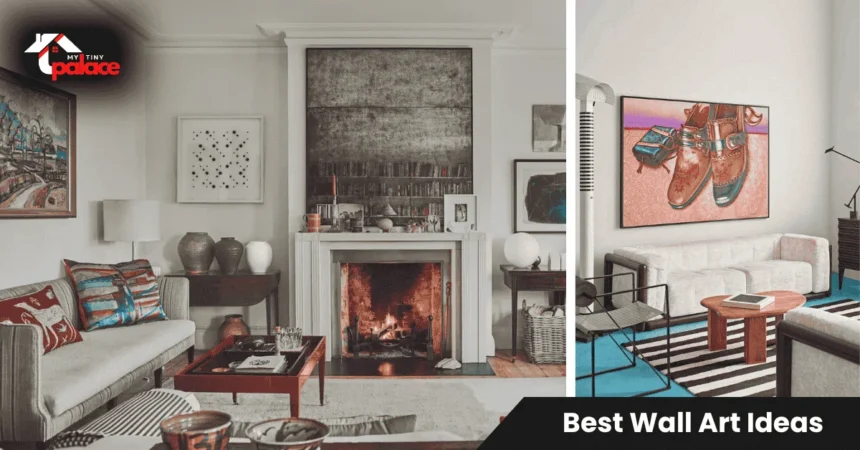
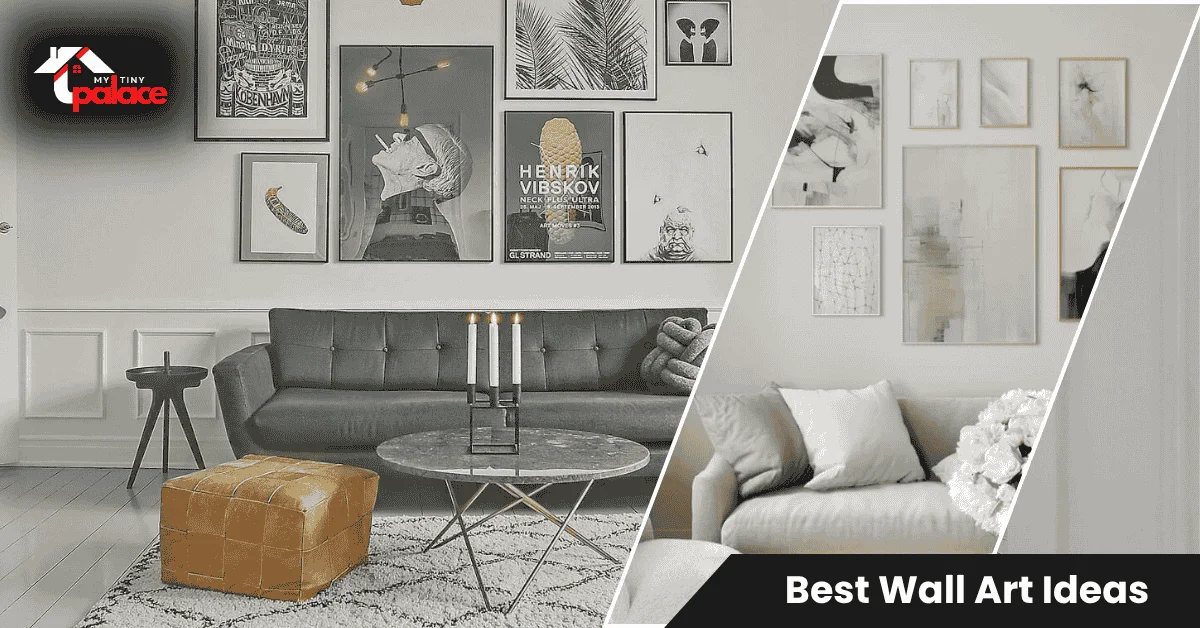
Best Wall Art Ideas to Transform Your Living Room
Wall art transforms how your living room feels and functions. It creates focal points, balances proportions, and shows your personality without permanent changes.
The main categories include large statement pieces for impact, gallery walls for visual interest, textured art like woven hangings for warmth, mirrors to expand space, canvas abstracts for modern homes, and quick DIY projects for personal touch.
Homeowners benefit from investment pieces that grow with their style. Renters love removable options like leaning frames and adhesive hooks. DIYers enjoy custom projects that cost less than store-bought art. Shoppers appreciate knowing which types work for small versus spacious rooms.


Each category solves different problems. Large canvases fix empty walls fast. Gallery walls work above sofas or in hallways. Textiles soften hard surfaces. Mirrors make narrow rooms feel wider. The right choice depends on your space size, budget, and how much change you want.
Why Wall Art Matters for Your Living Room
Your living room wall art does more than fill space. It draws the eye to specific areas and makes furniture arrangements feel intentional. A well-placed piece changes how people experience your room from the moment they walk in.
Related Articles
Art affects room scale, too. A tall vertical piece makes low ceilings feel higher. Wide horizontal art balances a long sofa and grounds your seating area. Without art, walls create visual dead zones that make rooms feel unfinished.
Style and scale decisions matter because wrong proportions look awkward. A tiny print above a large sofa disappears. Oversized art in a small room overwhelms. The psychological effect is real — balanced art makes spaces feel calm and organized.
For example, a small living room with one large piece feels more spacious than the same room with ten small frames competing for attention. In a room with high ceilings, vertical art or a stacked gallery wall draws eyes upward and celebrates that height instead of ignoring it.
Color and mood shift with your art choices. Warm tones make rooms feel cozy. Cool blues and grays create calm. Bold abstracts energize. Neutral photography keeps things versatile. Your art sets the emotional tone before anyone sits down.
Core Types of Wall Art and Where Each Works Best
Prints and posters offer an affordable variety. They suit renters and anyone testing styles before committing. Frame them for polish or pin them for casual vibes. Prints work in any room size but need proper framing to avoid looking temporary.
Framed paintings and canvases bring texture and depth. Canvas abstracts fit modern and minimalist spaces. Oil or acrylic paintings add richness to traditional rooms. These pieces handle humidity better than paper prints, so they work near windows.
Photography prints create clean, contemporary looks. Black-and-white photos suit any decor style. Color photography works when it shares tones with your furniture. Photography shines in well-lit rooms where details show clearly.
Mirrors function as art while reflecting light. They make small or dark living rooms feel bigger and brighter. Decorative mirrors with interesting frames work above mantles or consoles. Avoid placing mirrors where they reflect clutter or harsh light.
Woven and textile art adds warmth and sound absorption. Macrame, tapestries, and fabric hangings soften modern spaces with hard surfaces. They suit boho, eclectic, and Scandinavian styles. Textiles collect dust, so place them away from vents.
Sculptural and 3D pieces create dramatic shadows and dimension. Metal art, wood carvings, and layered pieces work on feature walls. These need strong anchors and work best in rooms with good lighting that shows off their depth.
Durability matters. Paper-based art fades in direct sunlight — use UV-protective glass or avoid sunny walls. Canvas and textiles handle light better, but still fade over the years. Metal and wood pieces last longest but need occasional dusting.
How to Choose the Right Wall Art for Your Space
Start by measuring your wall and sofa. Use a tape measure to get exact dimensions. For art above a sofa, aim for pieces that span two-thirds to three-quarters of the sofa’s width. A three-foot sofa needs art roughly 24 to 27 inches wide.
Pick scale using this rule: larger art for bigger walls, smaller pieces for tight spaces. One large piece (40×30 inches or bigger) anchors an empty wall. Multiple smaller pieces work when arranged as a cohesive gallery with even spacing.
Choose colors that connect to your room without matching everything exactly. Pull one or two colors from your pillows, rug, or curtains. This creates visual flow. High contrast (black frames in a white room) adds drama. Low contrast (beige art in a cream room) keeps things subtle.
Match style to your existing decor. Modern rooms suit geometric abstracts, line drawings, or minimalist photography. Traditional spaces work with classic paintings, landscapes, or framed botanical prints. Eclectic rooms let you mix styles — just keep a shared element like frame color or subject matter.
If you’re exploring different aesthetics, check out our guide on Modern vs Traditional Decor Styles to understand which art direction fits your overall vision.
Set a realistic budget before shopping. Prints start at $20–$50 unframed. Custom framing adds $50–$200. Original paintings range from $200 to thousands. Decide where to splurge — invest in the piece you’ll see most (usually above the sofa).
Consider lighting in your room. Art in dim corners needs its own light source or lighter colors. Bright rooms handle darker, moodier art. Avoid placing art where it catches glare from windows or lamps.
For renters, prioritize damage-free hanging. Look for lightweight pieces under five pounds. Use adhesive strips, tension rods, or lean art on shelves. Avoid nails in walls you don’t own. This flexibility matters when you move.
Quick decision flow: Measure wall → Identify your style → Set budget → Shop within size and price limits → Test placement before committing.
For budget-conscious approaches to all aspects of home styling, explore our Home Decor Ideas for Every Budget for complementary strategies.
Step-by-Step: Install and Style Your Wall Art
Proper installation makes art look intentional and prevents damage. Follow these steps for professional results without hiring help.
Eye-level placement is standard. Hang art so the center sits 57 to 60 inches from the floor — roughly average eye height. In rooms where people sit, lower the center to 48–52 inches so seated viewers enjoy it.
For gallery walls, plan your layout on the floor first. Arrange pieces with 2–3 inches of space between frames. Take a photo of your floor layout, then recreate it on the wall. This prevents extra holes from trial and error.
Spacing matters. Too tight looks cluttered. Too spread out loses visual connection. Keep consistent gaps throughout your gallery arrangement.
Layer art with lighting for impact. Picture lights, wall sconces, or track lighting make art pop after dark. Natural light works during the day, but add artificial light for evenings.
Safety disclaimer: Heavy pieces (over 10 pounds) need wall anchors rated for the weight. Drywall alone won’t hold large art. Ask someone to help lift and level heavy frames. If you’re unsure about wall structure, consult a professional installer to avoid damage or injury.
Quick Installation Steps
Measure your wall height and mark the center point with a pencil. Hold your art against the wall to test placement visually. Mark where the hanger will sit using the frame’s wire or bracket as a reference. Install appropriate wall hooks or anchors based on the art’s weight. Hang your piece and use a level to ensure it’s straight. Step back six feet to check how it looks in context, then adjust if needed.
Materials & Tools to Have Ready
Keep these items handy before you start: a tape measure for dimensions, a pencil for marking walls, a bubble level to check alignment, wall hooks or heavy-duty anchors for weight support, picture hanging wire if your frame needs it, and removable mounting strips for renters who can’t use nails.
Costs, Time, and Tools
Understanding costs helps you budget realistically. Prints and posters cost $20–$80, depending on size and artist. Add $40–$150 for quality framing. Pre-framed prints save time and money.
Original paintings and canvas art range from $150 to $1,000+. Custom commissions cost more but offer unique pieces nobody else owns. Expect to wait weeks for custom work.
DIY textile art costs $15–$50 in materials if you make woven hangings or fabric prints. Your time investment is 2–4 hours for simple projects. DIY saves money but requires basic crafting skills.
Decorative mirrors vary widely. Basic mirrors start at $30. Statement mirrors with ornate frames cost $100–$400. Larger mirrors cost more but deliver a strong visual impact.
Installation time depends on complexity. Hanging one piece takes 10–15 minutes. Gallery walls need 45–60 minutes for planning and hanging multiple frames. Factor in extra time if you need to buy anchors or adjust placement.
Where to splurge: Invest in the art piece itself rather than expensive frames. A great print in a simple frame beats mediocre art in fancy framing. Spend on pieces for high-traffic areas like above the sofa.
Where to save: Buy prints from online marketplaces. Use budget frames from big-box stores. Make your own textile art. Shop seasonal sales for discounts.
For more ways to balance quality and affordability across your entire home, visit our Home Decor Ideas for Every Budget guide.
Quick Cost & Time Comparison
| Art Type | Typical Cost | Install Time | Damage Risk |
|---|---|---|---|
| Framed prints | $40–$150 | 15 minutes | Low (small nail hole) |
| Large canvas | $100–$500 | 20 minutes | Medium (requires anchor) |
| Gallery wall | $150–$400 | 60 minutes | Medium (multiple holes) |
| DIY textile | $20–$60 | 2–3 hours | Very low (adhesive or lean) |
| Statement mirror | $80–$300 | 20 minutes | Medium (anchor needed) |
Pros & Cons: Who Should Consider Each Approach
Statement pieces work for people wanting immediate impact with minimal effort. Pros: fast decision, strong focal point, easy to hang. Cons: higher cost per piece, less flexibility to change.
Gallery walls suit creative types who enjoy arranging and curating. Pros: mix high and low price points, add personal photos, adjust over time. Cons: takes planning, multiple nail holes, harder to move.
Textile hangings benefit renters and minimalists. Pros: lightweight, damage-free mounting, adds texture. Cons: limited style range, collects dust, not suitable for every decor type.
Mirrors help anyone with small or dark rooms. Pros: reflect light, make spaces feel bigger, and functional art. Cons: show fingerprints, reflect clutter, and need careful placement to avoid glare.
Quick recommendations: Renters should try leaning frames or adhesive strips. Budget buyers should mix affordable prints with one investment piece. Design-risk takers should experiment with bold colors or 3D sculptural art.
Seasonal updates become easier when you plan. Our Seasonal Home Decor guide shows how to refresh your art choices throughout the year without major expense.
Quick Summary & What to Do Next
Start by measuring your wall space and the furniture below it. Pick one approach that matches your budget and time — a single statement piece for speed, a gallery wall for variety, or renter-friendly options for flexibility.
Your first step matters most. Measure one wall this weekend. Choose one art idea from this guide. Buy or create that piece, then hang it. See how it changes your room before adding more.
Don’t overthink it. Art should feel good, not stressful. You can always adjust, add, or swap pieces as your style evolves.
Pick one idea and hang it this weekend. Your living room transformation starts with that first piece on your wall.