


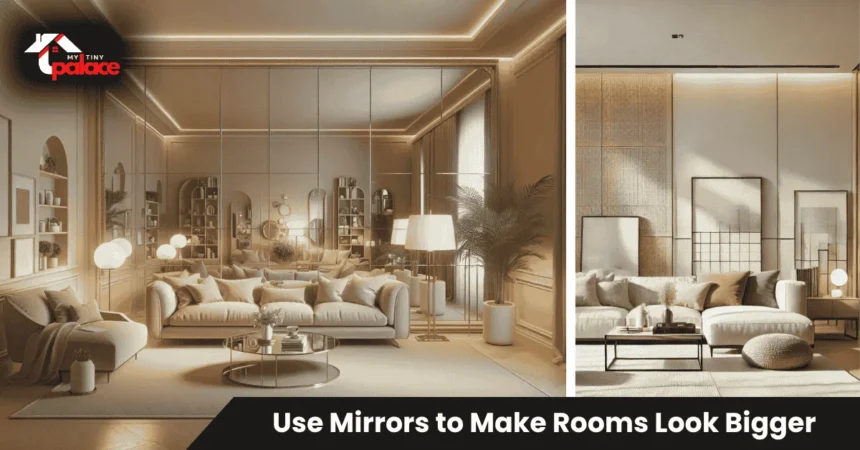
Small rooms don’t have to feel cramped. A strategically placed mirror can transform a tight space into one that feels open and airy. This trick works because mirrors reflect light and create visual depth—making walls appear farther away than they actually are. Best of all, it costs less than knocking down walls or renovating.
- Quick summary
- What is How to Use Mirrors to Make Rooms Look Bigger?
- Why mirror placement matters
- Types of mirrors and when to use them
- How to choose the right mirror
- Step-by-step: place and install mirrors for maximum effect
- Costs, time, and tools — include a small table
- Pros & cons / who should consider it
- Quick summary + CTA (what to do next)
Quick summary
Mirrors amplify natural light and create perceived depth in any room. Place them opposite windows or along your longest wall to maximize the effect. Choose a size that matches your furniture scale—bigger usually works better. This simple upgrade costs far less than renovation and delivers instant visual results.
What is How to Use Mirrors to Make Rooms Look Bigger?
Using mirrors to make rooms look bigger is a design strategy that relies on reflection, light, and perspective to create perceived space. You’re not adding square footage, but you are tricking the eye into seeing more room than exists. The method combines practical placement rules with an understanding of how reflective surfaces interact with light sources.
The goal is measurable: make your room feel wider, taller, or brighter. A mirror placed opposite a window doubles the amount of visible light. One mounted on a long wall extends your sightline and makes the space feel deeper. Floor-to-ceiling mirrors can add perceived height to rooms with low ceilings.


This technique works in any room—living rooms, bedrooms, narrow hallways, even bathrooms. You don’t need special skills or expensive materials. The right mirror in the right spot creates immediate visual expansion that guests will notice the moment they walk in.
Why mirror placement matters
Mirrors work by bouncing light around your room. When sunlight hits a reflective surface, it scatters across walls and ceilings instead of stopping at one point. This creates a brighter space that feels more open. The effect is strongest when mirrors face windows or other light sources.
Related Articles

Reflection also adds depth. Your brain interprets the mirrored image as additional space beyond the wall. A mirror on the far wall of a narrow hallway makes it look twice as long. One beside your sofa creates the illusion of a wider living room. The key is placing mirrors where they reflect interesting views—not blank walls or clutter.
Common outcomes include rooms that feel 20–30% larger without any construction. Living rooms gain visual width when mirrors sit opposite windows. Narrow hallways lose their cramped feeling with long horizontal mirrors along one wall. Bedrooms with low ceilings feel taller when vertical mirrors stretch from floor to near-ceiling height.
One caution: heavy mirrors need proper mounting. A large wall mirror can weigh 30–50 pounds. Always use appropriate anchors and check your wall type before drilling. For installations over 40 pounds, consider hiring a professional.
Types of mirrors and when to use them
Full-length mirrors stand 5–6 feet tall and work best in bedrooms or dressing areas. They create significant vertical expansion and cost $50–200. Mount them on the back of a door or lean them against a wall. Renters love these because they don’t require drilling.
Floor mirrors (also called leaning mirrors) rest directly on the floor and tilt slightly backward. They’re perfect for tight spaces where wall mounting isn’t possible. Most measure 65–75 inches tall and range from $80–300. The slight angle reflects more ceiling, adding perceived height.
Framed wall mirrors come in every size and style. A 36×48-inch mirror works well above a sofa. Ornate frames add character to traditional spaces while frameless options suit modern rooms. Prices vary wildly—$40 for basic designs, $400+ for designer pieces. These require proper wall anchors but create a finished, intentional look.
Mirrored tiles or panels let you cover larger areas affordably. A grid of 12×12-inch mirror squares on one wall costs $100–200 and multiplies light across the entire surface. Installation takes longer but the effect is dramatic. These work especially well in dining rooms or entryways.
Mirrored wardrobes combine storage with space expansion. Sliding mirror doors on a closet make bedrooms feel twice as wide. Built-in options run $500–2,000 but serve dual purposes. This is one of the most practical choices for small bedrooms.
Decorative mirror clusters use multiple small mirrors arranged in patterns. Three round mirrors grouped cost $60–150 and add visual interest plus depth. This option suits renters because individual pieces are lighter and easier to mount with adhesive strips.
Shatterproof acrylic mirrors are safer for kids’ rooms and high-traffic areas. They weigh less than glass and won’t create dangerous shards if broken. The trade-off is slightly less clarity, but for safety-conscious households, acrylic is worth considering.
How to choose the right mirror
Start with your room size. Small rooms under 120 square feet need at least one large mirror—minimum 30×40 inches. Larger spaces can use multiple mirrors or one statement piece. Measure your wall before shopping to avoid buying something too small. A mirror that’s too tiny looks awkward and won’t create the visual effect you want.
Identify your focal wall—usually the one facing the door or the longest uninterrupted surface. This is where your primary mirror should go. If you have a window on an adjacent wall, that’s even better. Placing a mirror perpendicular to windows captures and reflects the most light.
Consider ceiling height. Rooms under 8 feet benefit from vertical mirrors that draw the eye upward. Standard 8-foot ceilings work with either vertical or horizontal orientations. Taller rooms can handle horizontal mirrors without making the space feel squashed.
Match your mirror to the furniture scale. Your mirror should be at least 50–60% the width of the furniture beneath it. A 72-inch sofa needs a mirror at least 36–42 inches wide. Too small looks unbalanced. Too large can overpower the space, though this is rare—bigger usually works.
Light sources matter. Count your windows and artificial lights. Rooms with limited natural light need mirrors positioned to capture and multiply what little sunlight enters. North-facing rooms especially benefit from strategic mirror placement.
Frame style should complement your existing decor. Ornate gold frames suit traditional spaces. Simple black frames work in modern or industrial rooms. Frameless mirrors disappear into walls and suit minimalist aesthetics.
Budget realistically. Quality mirrors with proper backing cost $100–300 for medium sizes. Cheap mirrors distort reflections and feel flimsy. Set aside an extra $20–50 for proper mounting hardware. If in doubt about size, go larger—a bold mirror makes a stronger statement than a timid one.
Step-by-step: place and install mirrors for maximum effect
Start by measuring your wall space and marking potential mirror locations with painter’s tape. Stand back and visualize how the mirror will interact with furniture and light sources. Walk around the room to check sightlines from different angles. You want the mirror to reflect something attractive—windows, artwork, or open space—not cluttered corners.
Choose your placement based on light direction. Opposite a window is the classic position because it doubles natural light. Besides tall furniture like bookcases, mirrors can extend the perceived width of the room. Along the longest wall in a narrow space, a horizontal mirror adds depth. Avoid placing mirrors where they’ll create harsh glare or reflect unflattering angles.
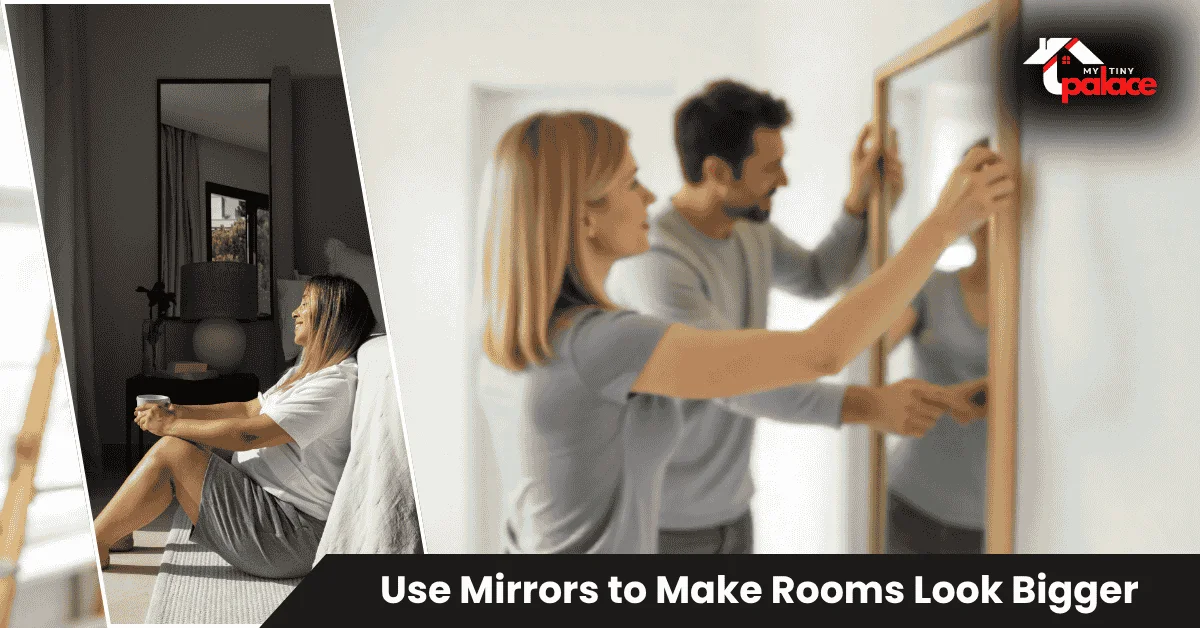
Before mounting, mock up the position. Have someone hold the mirror in place while you step back to judge the effect. Check that it’s level and at the right height—the center of the mirror should sit at average eye level, around 57–65 inches from the floor. For mirrors above furniture, leave 4–8 inches of space between the furniture top and the mirror’s bottom.
Mount the mirror securely based on its weight. Lightweight mirrors under 20 pounds can use heavy-duty adhesive strips—perfect for renters. Medium-weight mirrors need wall anchors or toggle bolts. Heavy mirrors over 40 pounds require stud mounting or professional installation. Always use a level and mark pilot holes with a pencil before drilling.
Renters have good alternatives to drilling. Command strips rated for 16 pounds can hold smaller decorative mirrors. French cleats distribute weight evenly and only require a few small screws. Leaning mirrors against the wall require no mounting at all—just make sure they’re angled safely and won’t tip.
Check your work by observing the reflection at different times of day. Morning light creates different effects than afternoon sun. Adjust the angle slightly if you notice glare. Add subtle styling—a small plant or book stack near the mirror base—to create a finished look without blocking the reflection.
Quick materials & tools list
For basic installation, you’ll need: a tape measure, a level, a pencil, a drill with appropriate bits, wall anchors or toggle bolts rated for your mirror’s weight, and mounting hardware (usually included with the mirror). Renters should grab Command strips or a French cleat kit instead of drilling supplies.
Costs, time, and tools — include a small table
| Budget Level | Cost Range | Time to Install | Tools Needed | When to Consider |
|---|---|---|---|---|
| DIY Budget | Under $50 | 30–60 minutes | Adhesive strips, level, measuring tape | Small decorative mirrors, renter-friendly options, temporary solutions |
| Mid-Range | $100–$300 | 1–2 hours | Drill, anchors, level, stud finder | Medium to large wall mirrors, homeowners, permanent installations |
| Professional | $300+ | 2–4 hours (with installation) | The installer provides tools | Heavy mirrors (40+ lbs), floor-to-ceiling installations, complex mounting |
Most homeowners fall into the mid-range category. You’ll spend around $150–200 on a quality mirror and another $20–40 on proper mounting hardware. Installation takes an hour if you’re comfortable with basic DIY. Budget an extra 30 minutes for measuring and planning.
Hire a professional when your mirror weighs over 40 pounds, when you’re mounting it on tricky surfaces like tile or plaster, or when you want a custom installation like a wall-to-wall mirrored panel. Installation services typically charge $100–200 for labor, but you’ll gain peace of mind knowing it won’t fall.
The time investment is minimal compared to the visual payoff. Even a simple leaning mirror requires zero installation time and creates an immediate impact. For weekend DIYers, this is one of the fastest ways to transform a room’s feeling without painting or furniture shopping.
Pros & cons / who should consider it
Mirrors deliver instant visual expansion for minimal cost. You’ll spend a few hundred dollars instead of thousands on renovation. The effect is immediate—guests notice the difference the moment they enter. Mirrors also increase brightness, which can reduce your need for artificial lighting during the day.
The drawbacks are manageable but worth noting. Mirrors require regular cleaning to maintain their effect—dust and smudges kill the illusion. They can create glare if placed opposite bright windows or lamps, which means you might need to adjust lighting. Heavy installations require skill and proper anchors, and mistakes can damage walls.
This technique works best for renters who can’t renovate, homeowners staging their house for sale, and anyone living in small apartments or rooms under 150 square feet. It’s also perfect for budget-conscious decorators who want professional-looking results without hiring a designer.
Skip mirrors if privacy is your main concern—bedrooms visible from hallways might feel exposed with reflective surfaces. Also, reconsider if you’re dealing with extreme glare problems that can’t be solved with curtains or blinds. In those cases, focus on other space-expanding tricks like lighter paint colors or strategic furniture placement.
Quick summary + CTA (what to do next)
The core rule is simple: place mirrors opposite light sources and match their size to your furniture scale. A well-positioned mirror creates depth, multiplies brightness, and makes any room feel more spacious.
Your next three steps are straightforward. First, measure your target wall and identify where natural light enters the room. Second, pick a mirror style that fits your budget and matches your decor—when in doubt, choose a larger size. Third, try the trick with an inexpensive leaning mirror before committing to permanent installation.
You can test this concept in the next hour. Grab any mirror you own, lean it against the wall opposite your window, and watch how the light transforms the space. If you like what you see, shop for something larger. Start small, see the results, then expand the technique to other rooms in your home.