


Your tomato seedlings stretch tall and spindly under weak winter light. Your balcony herbs burn up in the July heat. Choosing where to grow affects every part of gardening—from what survives to how much time you spend watering. Indoor gardening gives you control over light and temperature. Outdoor gardening offers natural cycles and bigger harvests. Your space, schedule, and goals determine which approach works best.
- Quick summary
- Indoor Gardening vs Outdoor Gardening
- Why the choice matters for your goals
- Core differences: light, space, climate, and care
- How to choose: a practical decision guide
- Step-by-step: start a windowsill herb garden (example project)
- Costs, time, tools — compact comparison table
- Pros & cons — who should pick indoor or outdoor
- Quick summary + CTA (what to try this month)
Quick summary
Both indoor and outdoor gardening work—pick based on available light, space, time, and what you want to grow. Indoor gardening suits year-round herbs and greens in controlled conditions. Outdoor gardening delivers larger yields and supports pollinators but follows seasonal rhythms. Many gardeners blend both approaches for the best results.
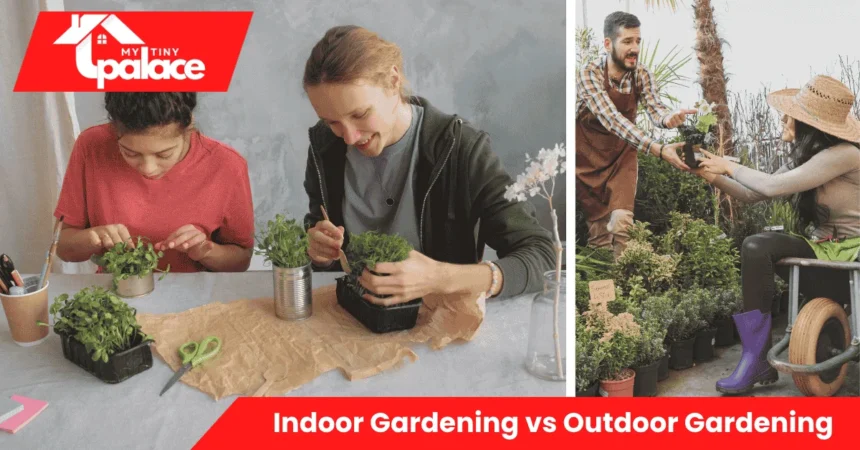
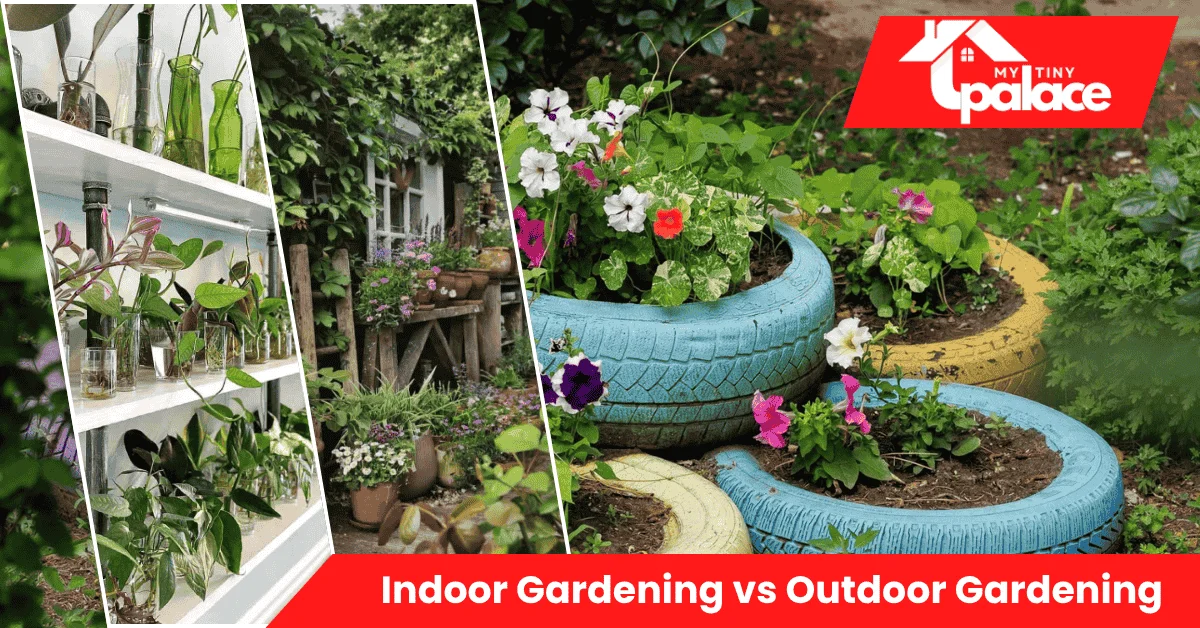
Indoor Gardening vs Outdoor Gardening
Indoor gardening means growing plants inside your home using containers, potting mix, and often supplemental light. You control temperature, humidity, and pest exposure. This approach fits windowsills, shelves under grow lights, or dedicated plant rooms. It works year-round regardless of your climate zone.
Outdoor gardening uses natural sunlight, rain, and soil—whether in raised beds, containers on a patio, or in-ground plots. Plants follow seasonal cycles determined by your hardiness zone. You get larger growing areas and don’t need artificial lighting, but weather and pests play bigger roles.
Many people use hybrid setups. Balcony containers count as outdoor gardening even in apartments. You might start seeds indoors in February, then transplant them to garden beds in May. Some gardeners grow herbs on a sunny kitchen sill while maintaining raised beds for summer tomatoes and beans.
Why the choice matters for your goals
Your gardening approach directly impacts what you harvest and how much effort you invest. Indoor gardens produce fresh basil and lettuce in January when outdoor beds sit frozen. Outdoor beds yield bushels of tomatoes and squash that would overwhelm any indoor setup. If you want year-round salad greens, indoor growing makes sense. For canning tomatoes or feeding a family, an outdoor space becomes necessary.
Maintenance time varies, too. Indoor plants need consistent watering since the pots dry faster than the ground soil. Outdoor beds benefit from rain but require weeding, mulching, and seasonal tasks like spring bed prep and fall cleanup. Pest pressure differs—indoor plants face fewer bugs but struggle with fungus gnats and spider mites in dry air. Outdoor gardens deal with aphids, caterpillars, and sometimes deer or rabbits.
Climate control matters for sensitive crops. Outdoor gardeners work within their zone’s limits—you can’t grow citrus outdoors in Minnesota. Indoor growers bypass these restrictions but pay for grow lights and climate control. Learning curves differ slightly. Indoor gardening requires understanding the light spectrum and humidity. Outdoor gardening demands knowledge of frost dates, companion planting, and soil health.
Both offer emotional benefits. Indoor plants improve air quality and provide daily interaction in your living space. Outdoor gardening gets you into fresh air, builds physical fitness through digging and hauling, and supports local pollinators like bees and butterflies.
Core differences: light, space, climate, and care
Light drives most gardening decisions. Outdoor plants get full-spectrum natural sunlight—8+ hours for vegetables, less for shade lovers like hostas. South-facing windows provide decent indoor light for 4–6 hours daily. Most edibles need supplemental grow lights indoors. LED grow lights cost $30–$120 and should run 12–16 hours daily for herbs and greens. Light quality matters too—natural sun delivers the complete spectrum plants evolved with, while cheap grow lights may lack key wavelengths.
Space and scale separate the two approaches dramatically. A 10×10-foot outdoor bed can grow 50+ pounds of tomatoes in a season. Indoors, that same footprint might hold 20 small pots producing a few ounces of herbs weekly. Vertical space helps indoors—stack shelves with grow lights to multiply your growing area. Outdoors, you can expand horizontally with more beds or use trellises for climbing crops like cucumbers and pole beans.
Climate control defines the indoor advantage. You maintain 65–75°F year-round, adjust humidity with a humidifier or pebble trays, and avoid frost entirely. Outdoor gardeners follow seasonal rhythms—plant cool-season crops like lettuce in spring and fall, warm-season crops like peppers after the last frost. Cold frames and row covers extend the outdoor season, but can’t replicate indoor control. Microclimates matter outdoors—a south-facing wall stays warmer than an exposed bed, affecting what thrives.
Daily care patterns differ significantly. Indoor plants need manual watering every few days since pots drain and dry quickly. Check soil moisture by sticking your finger 1–2 inches down—water when dry. Outdoor beds retain moisture longer, especially with mulch, and benefit from natural rainfall. Indoor pests like fungus gnats breed in overwatered soil, while outdoor gardens face caterpillars and beetles requiring different control methods—handpicking, row covers, or organic sprays.
Typical indoor plants include herbs (basil, cilantro, parsley), leafy greens (lettuce, spinach, microgreens), and compact ornamentals. Outdoor gardens handle everything from root vegetables (carrots, potatoes) to sprawling vines (pumpkins, melons) and perennial shrubs.
How to choose: a practical decision guide
Start with your goals. Want fresh herbs for cooking? A windowsill setup covers that. Planning to preserve food or feed a family? You need outdoor space. List what you want to grow, then check the light and space requirements for each plant.
Assess your space and light next. Measure window light for a week—download a light meter app or watch how shadows move. South and west windows get the most hours. North windows rarely provide enough light for edibles without supplemental bulbs. If you have a yard or balcony, note sun exposure—full sun (6+ hours), partial shade (3–6 hours), or full shade (under 3 hours).
Time investment comes third. Indoor gardening demands daily attention for watering and checking pests. Outdoor beds need seasonal bursts—spring planting, summer watering and weeding, fall cleanup—but can handle a few days of neglect once established. Busy workers often prefer outdoor raised beds with drip irrigation and mulch over high-maintenance indoor setups.
Budget matters. Indoor gardening has higher startup costs—grow lights, pots, potting mix, timers—but lower ongoing expenses. Outdoor gardening needs fewer tools upfront (shovel, hose, rake), but costs add up with soil amendments, mulch, and larger quantities of plants. Renters should favor portable containers (indoor or balcony) over permanent raised beds.
Lifestyle variants:
- Apartment renter: Start with windowsill herbs or a small grow-light shelf. Add balcony containers if you have outdoor access.
- Suburban homeowner: Build 2–3 outdoor raised beds for vegetables; keep an indoor herb pot for winter.
- Busy professional: Choose low-maintenance outdoor perennials (rhubarb, asparagus) or set up automated indoor systems with timers and self-watering pots.
Step-by-step: start a windowsill herb garden (example project)
This project takes 30 minutes to set up and produces fresh herbs within 4–8 weeks. You’ll grow basil, parsley, and chives—three reliable beginner herbs.
Step 1: Gather materials. Get three 4–6 inch pots with drainage holes, saucers to catch water, and a bag of potting mix (not garden soil, which compacts). Buy seedlings from a nursery or start from seed—seedlings give faster results. Grab plant labels and a small watering can.
Step 2: Fill and plant. Add potting mix to each pot, leaving 1 inch of space at the top. If using seedlings, gently remove them from nursery pots and place them in the center of your pot. Fill around the roots with more mix and press lightly. Water until it drains from the bottom. If starting from seed, sprinkle 4–6 seeds per pot, cover with 1/4 inch of mix, and mist with water.
Step 3: Place in light. Set pots on a south or west-facing windowsill. Herbs need 4–6 hours of direct sun daily. If your window gets less light, add a small LED grow light 6–12 inches above the plants, running 12–14 hours daily.
Step 4: Water and trim. Check soil moisture every 2–3 days. Water when the top inch feels dry—herbs prefer slightly moist soil but hate soggy roots. Once plants reach 6–8 inches tall, start harvesting. Pinch off the top 2–3 inches of stems to encourage bushier growth. Never take more than one-third of the plant at once.
Common mistakes: Overwatering kills more indoor herbs than underwatering. Yellow leaves and soggy soil mean too much water—let the pot dry out completely before watering again. Leggy, stretched growth means insufficient light—move closer to the window or add a grow light. Pests like tiny flies indicate fungus gnats from overwatered soil—let the soil dry between waterings and add a layer of sand on top to disrupt their life cycle.
Materials & measurements checklist
- Three 4–6″ pots with drainage holes
- Saucers (one per pot)
- Potting mix (not garden soil)
- Basil, parsley, and chive seedlings or seeds
- Plant labels
- Small watering can or spray bottle
- Optional: LED grow light if the window light is weak
Quick step sequence (5 steps)
- Fill pots with potting mix
- Plant seedlings or seeds
- Water thoroughly until draining
- Place on a sunny windowsill or under a grow light
- Water every 2–3 days; harvest when 6–8″ tall
Costs, time, tools — compact comparison table
| Approach | Startup Cost ($) | Weekly Time (hours) | Best For |
|---|---|---|---|
| Windowsill Herbs | 20–50 | 0.5–1 | Year-round cooking herbs, small spaces |
| Balcony Containers | 50–150 | 1–2 | Apartment dwellers, seasonal veggies |
| Raised Beds (4×8 ft) | 150–400 | 2–4 | Families, high-yield vegetable gardens |
| Small Greenhouse (6×8) | 500–1,500 | 3–6 | Serious growers, season extension |
Budget tips: Start small with one or two pots before investing in lights or large beds. Buy generic potting mix instead of specialty blends—add your own compost if needed. Many communities offer tool libraries where you can borrow shovels, rakes, and tillers for free. Reuse containers like yogurt cups or takeout containers for seed starting—just poke drainage holes in the bottom.
Scalability matters too. Indoor setups max out quickly due to space and light limits. Outdoor gardens expand easily—add another bed or convert lawn to growing space. If you rent tools instead of buying, outdoor projects become more affordable upfront.
Pros & cons — who should pick indoor or outdoor
Choose indoor gardening if you: live in an apartment or rental with no yard, want fresh herbs all winter, suffer from outdoor allergies, have mobility issues that make ground-level gardening difficult, or enjoy the control over growing conditions. Indoor growing suits perfectionists who like monitoring every variable and people in extreme climates (desert heat, arctic cold), where outdoor gardening requires significant infrastructure.
Drawbacks of indoor gardening: limited yields mean you’ll never can tomatoes or freeze bushels of beans. Grow lights add to your electric bill—expect $5–15 monthly for a small setup. Pots dry out faster, demanding near-daily attention. Some crops like corn, pumpkins, and fruit trees simply don’t work indoors due to size and pollination needs.
Choose outdoor gardening if you: own a home with yard space, want large harvests for preservation (freezing, canning), grow plants that need pollinators, prefer working outside, or want to support local ecosystems. Outdoor gardening costs less per plant over time since natural light is free and rain reduces watering effort.
Drawbacks of outdoor gardening: seasonal limits mean no fresh tomatoes in January unless you can or freeze them. Weather can destroy crops—hail flattens corn, late frost kills seedlings, and drought stresses everything. Pests require vigilant management. Physical labor increases with larger beds—digging, hauling compost, and weeding demand strength and stamina.
Best hybrid approach: Grow herbs indoors year-round for cooking. Plant outdoor beds with high-yield crops like tomatoes, beans, and squash during the growing season. Start seeds indoors in late winter, then transplant outside after frost. This combines the convenience of indoor growing with the productivity of outdoor space.
Quick summary + CTA (what to try this month)
Indoor gardening vs outdoor gardening boils down to control versus scale. Indoor setups deliver year-round harvests in small spaces with full climate control but limited yields. Outdoor gardens follow natural seasons, produce larger quantities, and cost less over time, but expose plants to weather and pests. Most successful gardeners use both approaches for different purposes.
Your next step this month: Measure light in your sunniest window for three days. If you get 4+ hours of direct sun, buy three herb seedlings and pots to start your indoor garden. If you have outdoor space, prepare a 4×4-foot raised bed or mark out a sunny patch for spring planting. Check your hardiness zone and last frost date—plan to plant cool-season crops like lettuce and peas 4–6 weeks before that date. Download a free planting calendar for your zone to time everything correctly. Start with one approach, learn what works, then expand from there.