


Quick summary
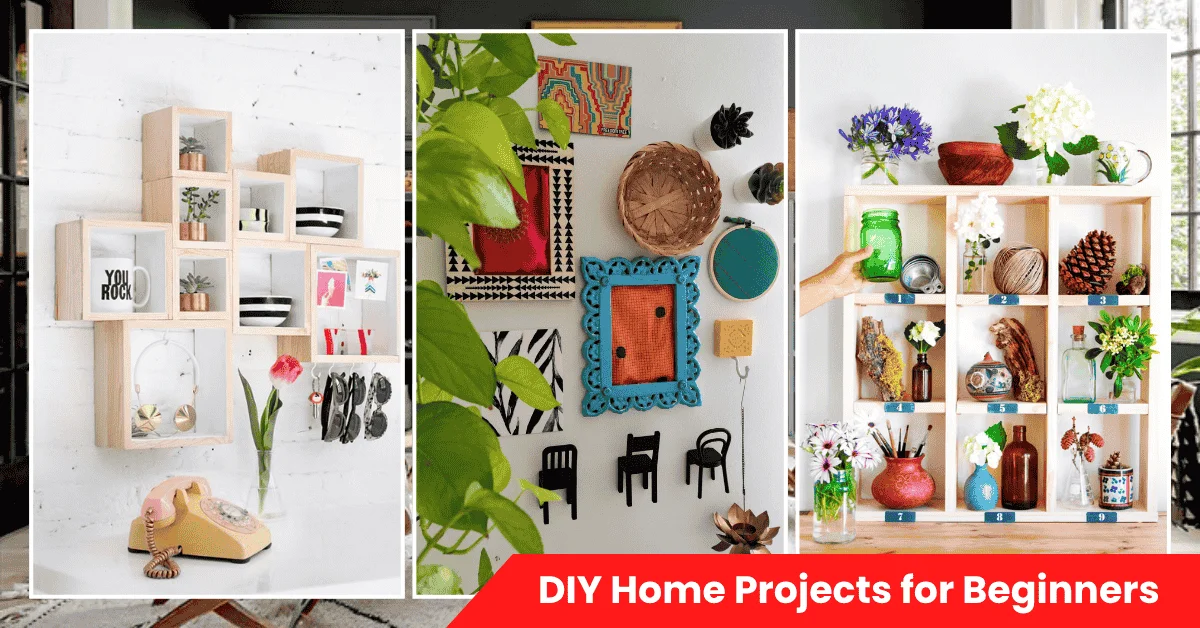
Starting DIY home projects builds skills, saves money, and transforms your space without hiring contractors. This guide covers simple weekend projects perfect for first-timers, from swapping cabinet hardware to painting accent walls. You’ll learn what tools you need, how to avoid common mistakes, and which renter-safe projects deliver maximum visual impact for minimal effort and cost.
- Quick summary
- What is DIY Home Projects for Beginners?
- Why DIY matters — practical benefits for beginners
- Popular beginner projects — what to try first
- How to choose the right beginner project — 3-step decision framework
- Step-by-step: do three common beginner projects.
- Costs, time, and tools — realistic expectations
- Pros & cons / who should try these projects
- Quick summary + CTA
What is DIY Home Projects for Beginners?
DIY home projects for beginners are simple improvements you can complete yourself using basic tools, short timeframes, and minimal technical knowledge. These projects focus on high-impact visual changes rather than complex structural work. Think painting walls, replacing light fixtures, installing shelves, or updating cabinet hardware instead of rewiring electrical systems or moving plumbing.
A complete guide matters because beginners need more than inspirational photos. You need realistic time estimates, actual cost breakdowns, tool lists, and safety boundaries. This article provides decision frameworks so you can pick projects matching your skill level and living situation. Renters get non-permanent alternatives. First-timers learn which mistakes to avoid before they happen.
The starter kit concept simplifies shopping. Instead of wandering through hardware stores overwhelmed, you’ll know exactly which tools handle most beginner projects. This guide also explains when projects exceed beginner scope and require licensed professionals. Understanding these limits prevents dangerous mistakes and wasted money on abandoned half-finished work.
Why DIY matters — practical benefits for beginners
DIY projects save significant money compared to hiring contractors. Painting an accent wall yourself costs $40 in paint and supplies. Professional painters charge $200 to $400 for the same work. Swapping ten cabinet handles runs $30 to $50 for new hardware. Hiring someone adds $100 to $200 in labor costs. These savings accumulate quickly across multiple small projects.
Learning basic skills builds confidence that extends beyond home improvement. Successfully installing floating shelves teaches you to measure, level, drill, and problem-solve. These abilities apply to future projects and reduce intimidation around household maintenance. You stop seeing every repair as requiring professional help.

Personalizing your space creates homes that reflect your style rather than landlord choices or previous owner preferences. Renters especially benefit since small changes like removable wallpaper or new lighting transform generic apartments into spaces that feel uniquely yours. DIY lets you experiment with trends without permanent commitments or massive expense.
The process itself provides satisfaction that buying finished items never match. Completing projects with your own hands creates pride and ownership. You’ll point out your work to guests and feel genuine accomplishment. This emotional payoff matters as much as the functional improvements.
Popular beginner projects — what to try first
Painting an accent wall transforms a room’s mood in four to six hours. Choose one wall, apply two coats of bold color, and watch the entire space shift. Rookie tip: Use painter’s tape along edges and remove it while the paint stays slightly wet for clean lines. Cost runs $30 to $50 for paint and supplies.
Swapping cabinet hardware updates kitchens and bathrooms instantly. Remove old handles and knobs, fill existing holes if needed, drill new holes, and attach updated hardware. Takes two to three hours for an average kitchen. Pick hardware with similar hole spacing to avoid patching. Budget $30 to $80, depending on quantity and style.
Related Articles

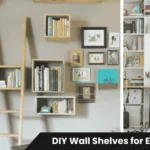
Installing floating shelves adds storage and display space without a floor footprint. Mark level lines, find studs, mount brackets, and place shelves. Expect two hours per shelf, including shopping time. Common mistake: mounting only into drywall without hitting studs causes the shelves to rip out under the weight. Cost ranges $20 to $60 per shelf with hardware.
Replacing light fixtures changes the ambiance dramatically. Turn off the power at the breaker, remove the old fixture, connect new wires matching colors, mount the new fixture, and restore power. Takes one to two hours. For electrical work beyond simple fixture swaps, hire a licensed electrician. Budget $40 to $150, depending on fixture style.
Patching wall holes prepares spaces for repainting or rental move-outs. Clean hole edges, apply spackle or patch compound, let dry, sand smooth, and prime before painting. Small holes take 30 minutes plus drying time. This essential skill saves security deposits and maintains clean walls. Materials cost under $15.
Upcycling furniture breathes new life into thrift finds or outdated pieces. Sand surfaces, apply primer, paint or stain, and seal with a protective topcoat. A small dresser takes one weekend, including drying time between coats. This project builds painting skills while creating custom furniture. Expect $30 to $60 for supplies.
Applying peel-and-stick backsplash updates kitchens without permanent changes. Clean surface thoroughly, measure and cut tiles, peel backing, and press firmly into place. Plan four to six hours for the average backsplash area. Perfect for renters since it removes cleanly. Cost runs $50 to $120 for materials.
Installing removable wallpaper adds pattern to any room without commitment. Measure walls, cut panels slightly long, apply according to manufacturer instructions, and smooth out bubbles. Takes three to five hours for an accent wall. Another excellent renter option that peels off without damage. Budget $40 to $100, depending on wall size.
How to choose the right beginner project — 3-step decision framework
Check safety and skill requirements first. Avoid projects involving electrical wiring beyond fixture swaps, gas lines, major plumbing, or structural changes. These require licensed professionals, and attempting them risks injury or property damage. Stick with cosmetic updates, simple installations, and surface treatments until you build experience.
Evaluate the impact versus effort ratio. Painting delivers a dramatic visual change for a relatively small time and money investment. Swapping hardware provides instant updates with minimal skill required. Choose projects where modest effort produces noticeable transformation. Avoid elaborate multi-step renovations that drag on for weeks and risk remaining unfinished.
Test your chosen project in one small area before committing throughout your home. Paint one wall before scheduling whole-room repaints. Install one shelf before buying brackets for six shelves. Replace hardware on one cabinet before ordering handles for the entire kitchen. This trial approach catches problems early when adjustments cost less.
Ask yourself three quick questions. First, do I own the tools needed, or can I borrow them? Second, will I realistically finish this weekend, or will it linger incomplete? Third, if this fails, what’s the worst outcome? Honest answers reveal whether you’re ready for specific projects or should start simpler.
Step-by-step: do three common beginner projects.
Swapping cabinet hardware requires minimal tools and delivers immediate visual updates. Start by removing one existing handle or knob to measure hole spacing. Purchase new hardware matching this spacing to avoid additional drilling. Remove all old hardware and clean surfaces where they mounted. If switching from knobs to handles, fill old holes with wood filler, let it dry, and sand smooth.
Mark new handle positions using a template or measuring tape to ensure consistent placement. Most handles center 2.5 to 3 inches from cabinet edges. Drill pilot holes if installing in new locations, then attach hardware with the provided screws. Tighten firmly, but don’t overtighten or you’ll strip threads. Work systematically through all cabinets, checking alignment as you progress.
Quick steps for cabinet hardware
- Measure existing hole spacing and buy matching new hardware
- Remove all old hardware and clean surfaces
- Fill and sand any unwanted holes
- Mark new positions and drill pilot holes if needed
- Attach new hardware and tighten securely
- Step back and check alignment across all cabinets
Painting an accent wall starts with proper preparation. Move furniture away from the wall or cover it with drop cloths. Remove outlet covers and switch plates. Clean the wall surface to remove dust and grease that prevent paint adhesion. Apply painter’s tape along the ceiling line, adjacent walls, and baseboards, pressing edges firmly to seal.
Apply primer if covering dark colors or new drywall. Let primer dry completely per the manufacturer’s instructions. Pour paint into the tray and load the roller evenly. Start in the top corner and work downward in overlapping W-shaped patterns to avoid visible lines. Cut in edges with a brush where rollers can’t reach. Apply the second coat after the first coat dries, usually three to four hours.
Quick steps for an accent wall
- Prep the space and clean the wall surface thoroughly
- Apply painter’s tape along all edges
- Prime if covering dark colors or bare drywall
- Paint the first coat using a W-pattern with a roller
- Cut in edges with a brush while the paint is wet
- Apply the second coat after the first dries, and remove the tape while slightly wet.
Installing floating shelves begins with finding wall studs using a stud finder. Mark stud locations with light pencil marks. Measure and mark level lines where shelves will mount using a level and pencil. Most shelves need two studs for secure mounting. If studs don’t align with your desired position, use heavy-duty wall anchors rated for the expected weight.
Hold mounting brackets against marks and drill pilot holes slightly smaller than bracket screws. Attach brackets to the wall, screwing into studs when possible. Place the shelf onto the mounted brackets and secure according to shelf style—some slide on, others screw from underneath. Load the shelf gradually, testing stability before adding full weight. Never exceed the manufacturer’s weight rating.
Quick steps for floating shelves
- Locate and mark wall studs with a stud finder
- Mark the level line where the shelf will mount
- Drill pilot holes and attach mounting brackets
- Slide or screw the shelf onto the brackets
- Check level and adjust if needed
- Load gradually to test the weight capacity
Costs, time, and tools — realistic expectations
Budget-level projects cost $20 to $100 and take two to six hours to complete. These include painting small areas, swapping hardware, patching holes, and hanging lightweight items. Basic tools suffice: hammer, screwdriver set, tape measure, level, and drill. Many beginners already own these items or can borrow from friends. Start here to build confidence and skills.
Mid-range projects run $100 to $300 and require four to eight hours or a full weekend. Examples include installing multiple shelves, applying peel-and-stick backsplash, upcycling furniture, or painting entire rooms. You might need to purchase or rent specialized tools like orbital sanders or tile cutters. These projects deliver significant visual impact while remaining manageable for determined beginners.
Premium beginner projects cost $300 to $600 and take multiple days, including drying or curing time. Think about installing new light fixtures throughout your home, building simple furniture from plans, or creating extensive gallery walls with multiple pieces. These stretch beginner skills and often benefit from having an experienced friend available for questions. Consider renting expensive tools rather than buying for one-time projects.
Compact cost/time/tools table
| Project Level | Cost Range | Time Needed | Essential Tools | Example Project |
|---|---|---|---|---|
| Budget | $20 – $100 | 2 – 6 hours | Hammer, screwdriver, tape measure, level | Paint accent wall, swap hardware, patch holes |
| Mid-Range | $100 – $300 | 4 – 8 hours (one weekend) | Above plus drill, sander, paintbrush set | Install shelves, peel-and-stick backsplash, and upcycle furniture |
| Premium | $300 – $600 | Multiple days (includes drying time) | Above plus specialty items (tile cutter, miter saw) | Replace multiple light fixtures, build simple furniture, extensive gallery wall |
For electrical or major plumbing work, hire a licensed professional. Safety matters more than saving money. Tool rental makes sense for expensive items you’ll use once. Most hardware stores rent drills, sanders, and saws for $20 to $40 per day, far less than purchasing quality versions.
Pros & cons / who should try these projects
DIY projects save hundreds compared to hiring contractors while teaching valuable lifelong skills. You control timing, working evenings or weekends around your schedule rather than coordinating with professionals. The satisfaction of completing projects yourself builds confidence that extends beyond home improvement into other life areas.
Limitations exist. Structural work, electrical beyond simple fixtures, gas line modifications, and major plumbing exceed beginner scope. Attempting these risks can cause injury, property damage, and code violations that complicate future home sales. Know your boundaries and respect them. Some projects genuinely require professionals.
Ideal candidates include renters wanting non-permanent improvements, first-time homeowners with building maintenance skills, and weekend warriors seeking productive, creative outlets. Budget-conscious people appreciate the cost savings. Anyone willing to learn basic skills and follow directions carefully can succeed with beginner projects.
Call professionals when work involves permits, structural changes, electrical wiring, gas lines, or plumbing beyond fixture swaps. If the project scope expands beyond initial plans or you discover complications like mold or water damage, pause and consult experts. Better to spend money on a professional assessment than create dangerous conditions.
Quick summary + CTA
DIY home projects for beginners offer accessible entry points into home improvement. Start with high-impact, low-risk projects like painting accent walls, swapping hardware, or installing shelves. Build your basic tool kit gradually, purchasing quality items as needed rather than buying everything upfront.
Choose one weekend project from this guide that matches your skill level and living situation. Gather the starter kit—drill, level, tape measure, screwdriver set, and project-specific supplies. Set aside a Saturday, follow the steps carefully, and permit yourself to learn as you go. Small projects teach skills that build toward bigger transformations. Start this weekend with one manageable win.