


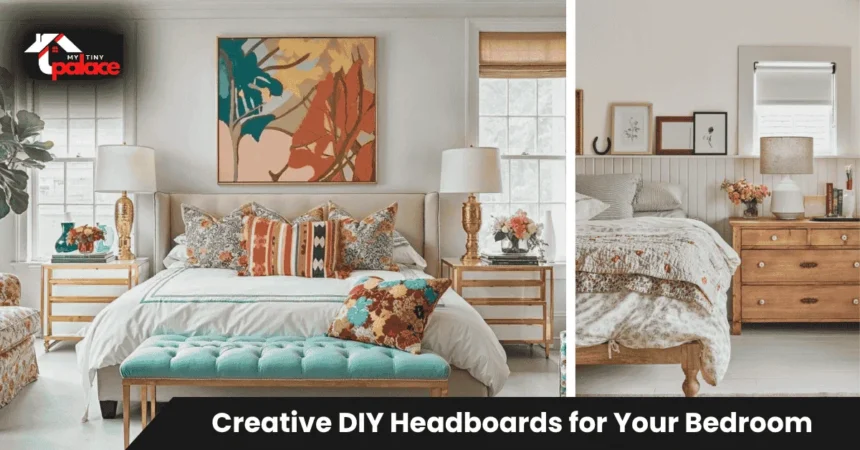
Your bedroom feels incomplete without a headboard, but retail options cost hundreds of dollars for generic designs. Building your own headboard gives you custom style at a fraction of the price. You can finish most projects in a weekend using basic tools and materials from any hardware store. The result is a bedroom that reflects your taste instead of a catalog page.
- Quick summary
- What are Creative DIY Headboards for Your Bedroom?
- Why a DIY headboard matters
- Headboard styles & core solutions
- How to choose the right headboard for your room
- Step-by-step: build and install
- Costs, time, and difficulty — include a small table
- Pros & cons / who should consider it
- Quick summary + CTA (what to do next)
Quick summary
Creative DIY headboards add personality and style to your bedroom without the high cost of store-bought furniture. Choose materials based on your preferred style and mounting needs—upholstered panels for softness, reclaimed wood for texture, or painted plywood for simplicity. Renters can use leaning designs or adhesive mounts to avoid wall damage. The impact is big, the investment is small, and the customization is entirely yours.
What are Creative DIY Headboards for Your Bedroom?
Creative DIY headboards for your bedroom are handmade or customized bed backings built from wood, fabric, panels, or repurposed items. These projects let you add personality and function to your sleeping space without hiring contractors or paying retail markups. The scope includes quick weekend builds, budget-friendly options under $100, and renter-safe methods that don’t require drilling into walls.
The outcome goals are clear: create a visual focal point, add comfort for sitting up in bed, and tie together your room’s color scheme and style. You might build an upholstered panel for a hotel-like feel, mount reclaimed barn wood for rustic character, or paint a vintage door for one-of-a-kind charm.

These projects work for any skill level. Beginners can tackle simple fabric-wrapped plywood in three hours. Experienced DIYers might spend a full weekend on a tufted upholstered design with button details. The common thread is control—you pick the exact size, color, texture, and mounting method that fits your space and situation.
Why a DIY headboard matters
Budget savings drive most DIY headboard projects. Retail headboards cost $200–800 for standard sizes, while homemade versions run $50–20,0, depending on materials. You’re paying for supplies instead of markup, middlemen, and shipping. Those different funds for other bedroom upgrades, es as better bedding or lighting.


Customization is the second major benefit. Store-bought headboards come in limited sizes that rarely match your exact bed width or room proportions. Building your own means you can make it 2 inches wider than your mattress or extend it to the ceiling if you want drama. You control the fabric color, wood stain, and finish details to match your existing furniture and bedding perfectly.
DIY headboards let you refresh your room style without replacing furniture. Swap a neutral upholstered panel for a bold patterned fabric when you want to change. Paint over last year’s color in an afternoon. This flexibility keeps your bedroom feeling current without constant spending.
Some people build headboards for practical comfort. An upholstered or padded design provides back support for reading or watching TV in bed. The soft surface is gentler on your head and pillows than a hard wall. This functional benefit adds real value beyond aesthetics.
One caution applies: complex structural mounts require care. If you’re building a heavy wooden headboard that mounts directly to the wall, use proper studs and hardware rated for the weight. For complicated installations or designs with built-in electrical features like reading lights, consider consulting a professional to ensure safety.
Related Articles

Headboard styles & core solutions
Upholstered or padded headboards use plywood backing covered with foam batting and fabric. They create a soft, hotel-like appearance and work well in traditional or contemporary bedrooms. The pros are comfort and customization—pick any fabric you love. The cons are slightly higher material costs ($80–150) and more assembly steps than wood-only designs.
Reclaimed wood headboards use salvaged barn wood, pallet boards, or weathered fence panels mounted horizontally or vertically. They deliver instant texture and rustic character, perfect for farmhouse or industrial styles. Pros include durability and unique aging patterns. Cons are weight (requiring solid mountingand the limited availability of quality reclaimed materials in some areas.
Painted plywood headboards are the simplest option: cut plywood to size, sand the edges, prime and paint, then mount. This approach suits minimalist or modern bedrooms and costs under $50 for materials. The benefit is speed—you can finish in four hours. The drawback is the lack of texture or softness compared to upholstered options.
Fabric panels stretch canvas or decorative cloth over wooden frames to create lightweight, removable headboards. These work beautifully for renters because they lean against the wall or hang with minimal hardware. Costs run $60–120, and the style suits bohemian or eclectic rooms. The downside is less stability than wall-mounted versions.
Upholstered frames combine a wooden perimeter with padded fabric centers, offering structure and softness together. This hybrid approach creates a finished, professional look ideal for master bedrooms. Material costs reach $150–200, but the result rivals expensive retail pieces.
Decorative wall-mounted pieces use architectural salvage like vintage doors, shutters, window frames, or carved panels as headboards. These one-of-a-kind solutions add instant character and conversation value. Pros are uniqueness and often free or cheap materials from salvage yards. Cons include variable quality and the need to clean and refinish old items.
Repurposed items like old doors or shutters, painted and mounted horizontally, create a cottage or vintage look. You’ll spend $20–60 at thrift stores or salvage shops, making this the most budget-friendly option with maximum personality.
How to choose the right headboard for your room
Start with your bed size—measure the mattress width and add 4–6 inches on each side for visual balance. A queen mattress is 60 inches wide, so your headboard should span 68–72 inches. Going narrower looks cramped. Going wider works if you have wall space, but stop at least 6 inches from side furniture to avoid a crowded feeling.
Ceiling height affects headboard height. Standard 8-foot ceilings pair well with headboards 48–60 inches tall, measured from the floor. Lower ceilings suit shorter headboards around 40–48 inches to avoid a squashed appearance. Higher ceilings can handle dramatic floor-to-ceiling designs that emphasize vertical space.
Wall width matters for proportions. If your bed sits on a 10-foot wall, a headboard extending 6–7 feet looks balanced. On a 12-foot wall, you can go wider or add side tables and lamps to fill the space. Never let the headboard exceed 80% of your available wall width—leave breathing room on the sides.
Room style guides, material choices. Modern bedrooms benefit from clean-lined plywood or frameless upholstered panels in solid colors. Rustic or farmhouse rooms call for reclaimed wood or distressed finishes. Traditional spaces look best with tufted upholstery or carved wood details. Match your headboard style to existing furniture for a cohesive look.
Budget sets your scope. Under $75 means painted plywood or simple fabric panels. Between $75–150 allows upholstered plywood with mid-grade fabric or small reclaimed wood projects. Above $150 opens tufted upholstery, large reclaimed installations, or custom carpentry with trim details.
Renter status determines the mounting method. If you can’t drill, choose leaning headboards, adhesive velcro strips rated for weight, or tension-mounted designs. Homeowners have full freedom for French cleats, direct stud mounting, or built-in installations.
Comfort needs push some people toward padded options. If you sit up in bed often, invest the extra time and cost for foam batting and fabric. If your bed is purely for sleeping, structural headboards work fine.
One design tip: decide whether you want the headboard to contrast or blend with your wall color. Contrast creates a focal point that draws attention. Blending makes the room feel larger and calmer. Neither is wrong—pick based on your personality and room goals.
Step-by-step: build and install
Begin by measuring your bed and wall space. Mark the desired headboard width on the wall with painter’s tape to visualize the final size. Measure from the floor to your preferred height—most people choose 48–52 inches for comfortable sitting. Stand back and confirm the proportions look balanced before committing to cuts.
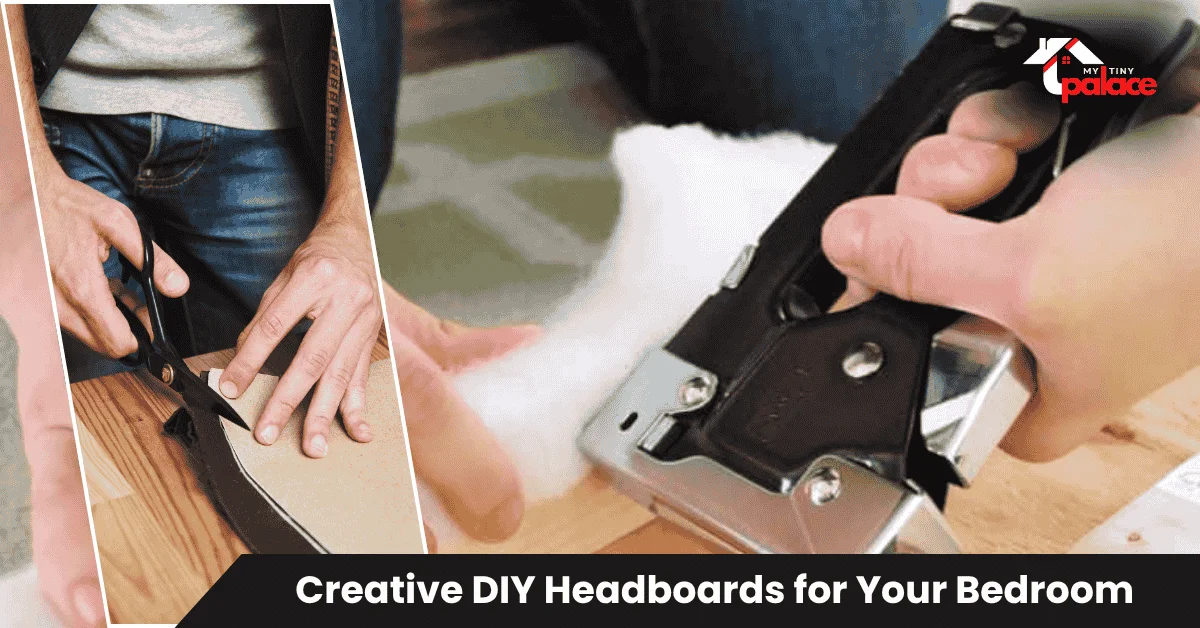
Pick your materials based on the style you chose earlier. For an upholstered panel, you’ll need plywood cut to size, 2-inch foam batting, fabric with 8 inches extra on all sides, and a staple gun. For a wood headboard, select your boards (pallet wood, pine, or cedar), wood glue, screws, and stain or paint. Buy everything at once to avoid delays mid-project.
Cut and assemble your base structure first. If working with plywood, have the hardware store cut it to size—most offer free cuts. For wood slat designs, cut boards to identical lengths and lay them out to check spacing before attaching. Sand all edges and surfaces to remove splinters and create smooth finishes.
For upholstered projects, attach foam batting to the plywood front using spray adhesive. Pull the fabric tightly over the foam and staple it to the back of the plywood, starting at the center of each side and working toward the corners. Keep tension even to avoid wrinkles. Fold corners neatly like wrapping a gift and secure with extra staples.
For wood designs, apply your finish before mounting. Stain brings out natural grain patterns—apply two coats with light sanding between layers. Paint requires primer first, then two coats of finish color. Let everything dry completely, which usually takes 24 hours in good ventilation.
Mount your headboard using methods appropriate for your wall type and weight. Light headboards under 20 pounds can use heavy-duty picture hangers or adhesive strips. Medium-weight (20–40 pounds) needs wall anchors or toggle bolts. Heavy wood headboards over 40 pounds require mounting to wall studs using lag screws. Use a level before drilling to ensure straight installation.
Renters should try French cleats—these split wooden strips distribute weight and need only a few screws. Alternatively, lean your headboard against the wall and secure the bottom to your bed frame with brackets. This method works for most upholstered and light wood designs without any wall damage.
Style the finished headboard by positioning your bed correctly—leave 1–2 inches between the mattress and headboard to avoid rubbing. Add pillows that complement your fabric or finish choice. Position nightstands and lamps to frame the headboard and create a balanced bedside setup.
Materials & tools list
For upholstered panels: plywood, foam batting, fabric, staple gun, spray adhesive, and scissors. For wood headboards: boards, wood glue, screws, stain or paint, sandpaper, saw. For all projects: measuring tape, level, pencil. Renters add: French cleat kit or heavy-duty adhesive strips rated for 30+ pounds.
Costs, time, and difficulty — include a small table
| Budget Level | Cost Range | Time Required | Skill Level | Best For |
|---|---|---|---|---|
| Budget DIY | $30–$75 | 3–5 hours | Beginner | Painted plywood, simple fabric panels, repurposed doors |
| Mid-Range | $75–$150 | 6–10 hours | Intermediate | Upholstered panels, small reclaimed wood projects, basic tufting |
| Advanced | $150–$300 | 12–20 hours | Experienced | Large wood installations, complex upholstery with buttons, and built-in features |
Most first-time builders fall into the budget or mid-range categories. A simple upholstered panel costs around $100 in materials and takes one full Saturday to complete. You’ll need basic tools like a drill, staple gun, and saw—if you don’t own these, borrowing from friends or renting from hardware stores adds minimal cost.
Professional help becomes valuable for heavy installations exceeding 50 pounds, custom carpentry with complex joints, or designs incorporating electrical features like built-in reading lights. Installation services charge $100–200 for labor, but you’ll gain peace of mind knowing the headboard is safely mounted and code-compliant.
The time investment varies by detail level. Simple painted plywood takes three hours start to finish. Upholstered designs with tufting buttons require 12–15 hours spread across a weekend. Factor in drying time for stain or paint, which doesn’t require your active involvement but extends the project timeline.
Pros & cons / who should consider it
DIY headboards deliver custom style for one-quarter the cost of retail options. You control every design decision, from exact dimensions to fabric patterns to finish colors. The creative satisfaction of building bedroom furniture yourself adds intangible value beyond money saved. Projects suit various skill levels, so beginners and experienced woodworkers both find appropriate challenges.
Time investment is the primary drawback. Even simple projects consume 3–5 hours, while complex builds take full weekends. You’ll need basic tools and a workspace—apartments without balconies or garages face limitations for cutting and finishing materials. Wall mounting carries some risk if done incorrectly, potentially damaging walls or creating unsafe conditions.
This approach works best for budget-conscious renters who want personality without retail prices. Leaning or adhesive-mounted designs give you custom style without forfeiting security deposits. DIY beginners benefit from straightforward projects like painted plywood or simple fabric panels that build confidence. Design enthusiasts love the creative freedom to match exact color schemes and textures impossible to find in stores.
Skip DIY headboards if you lack tools, workspace, or time for weekend projects. If precision carpentry or upholstery feels overwhelming, buying a simple retail headboard eliminates stress. Also, reconsider if you’re in a temporary living situation—investing effort in a custom headboard makes less sense when you’re moving in three months.
Quick summary + CTA (what to do next)
The core rule is simple: match your headboard scale to your bed size and choose mounting methods appropriate for your wall type. A well-built DIY headboard creates a bedroom focal point for less than $150 and installs in a weekend.
Your next steps are straightforward. First, measure your bed width and decide on your target headboard height. Second, pick a style that matches your skill level and room aesthetic—upholstered panels for softness, wood for texture, paint for simplicity. Third, start with one small project this weekend, like a fabric-wrapped panel or painted plywood board, to test your interest before tackling complex builds.
Grab your measuring tape right now and sketch your ideal dimensions. Then visit your local hardware store to price materials. Pick one manageable first project and commit to finishing it before moving to your next bedroom upgrade.